
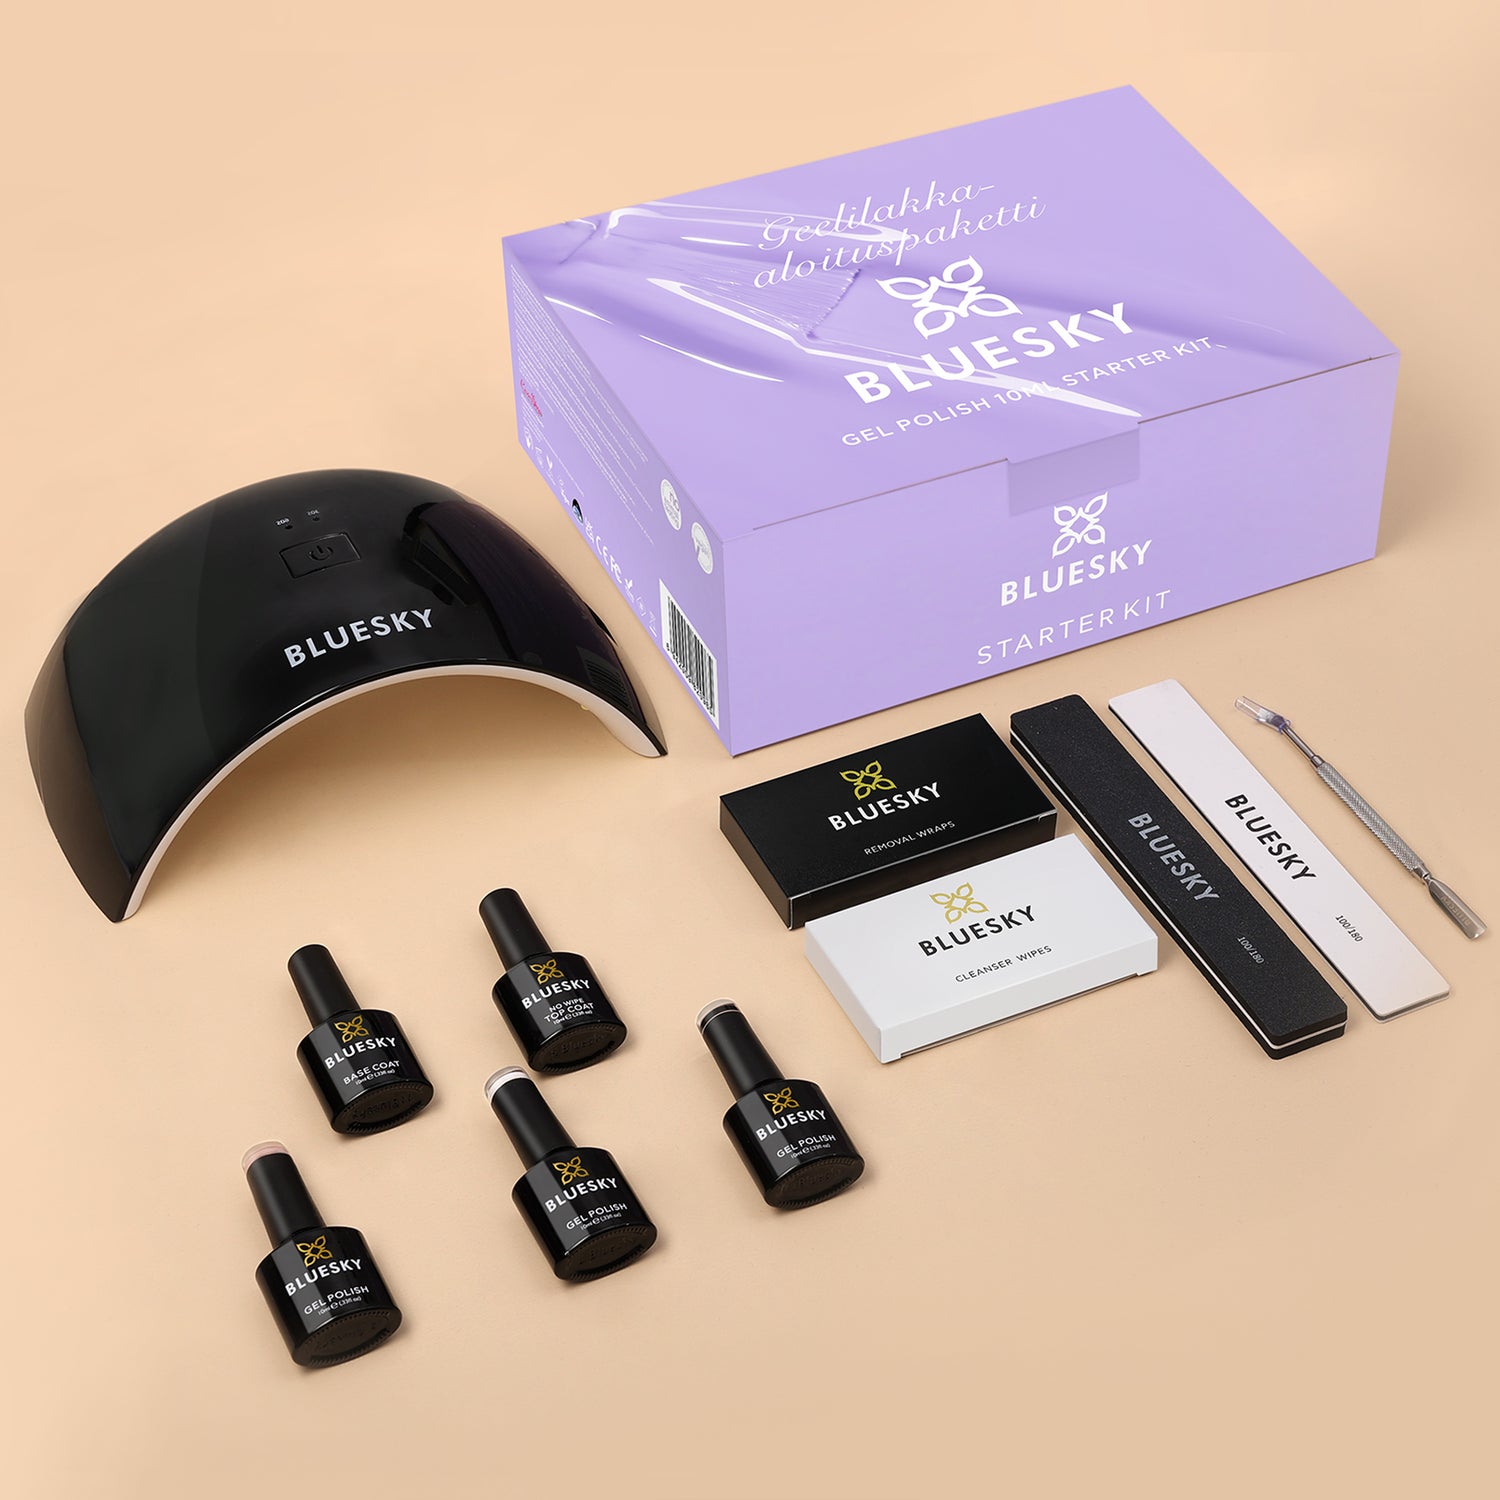


Bluesky Gel Polish Starter Kit, Purple
- In stock
Product description
Bluesky's renewed starter kit now comes in an even more beautiful package, and includes a cuticle pusher!
The starter kit now includes everything you need for tjhe perfect gel manicure.
If you wish, you can exchange the following products:
All 3 colors (10ml bottles only)
Base coat - thin BASE 01, slightly thicker BASE 02 or very thick THICK BASE.
Top coat - Glossy TOP 02 or matte MATTE T02
Write your wishes in the order comments field.
Contains:
- 24W LED lamp
- Cuticle pusher
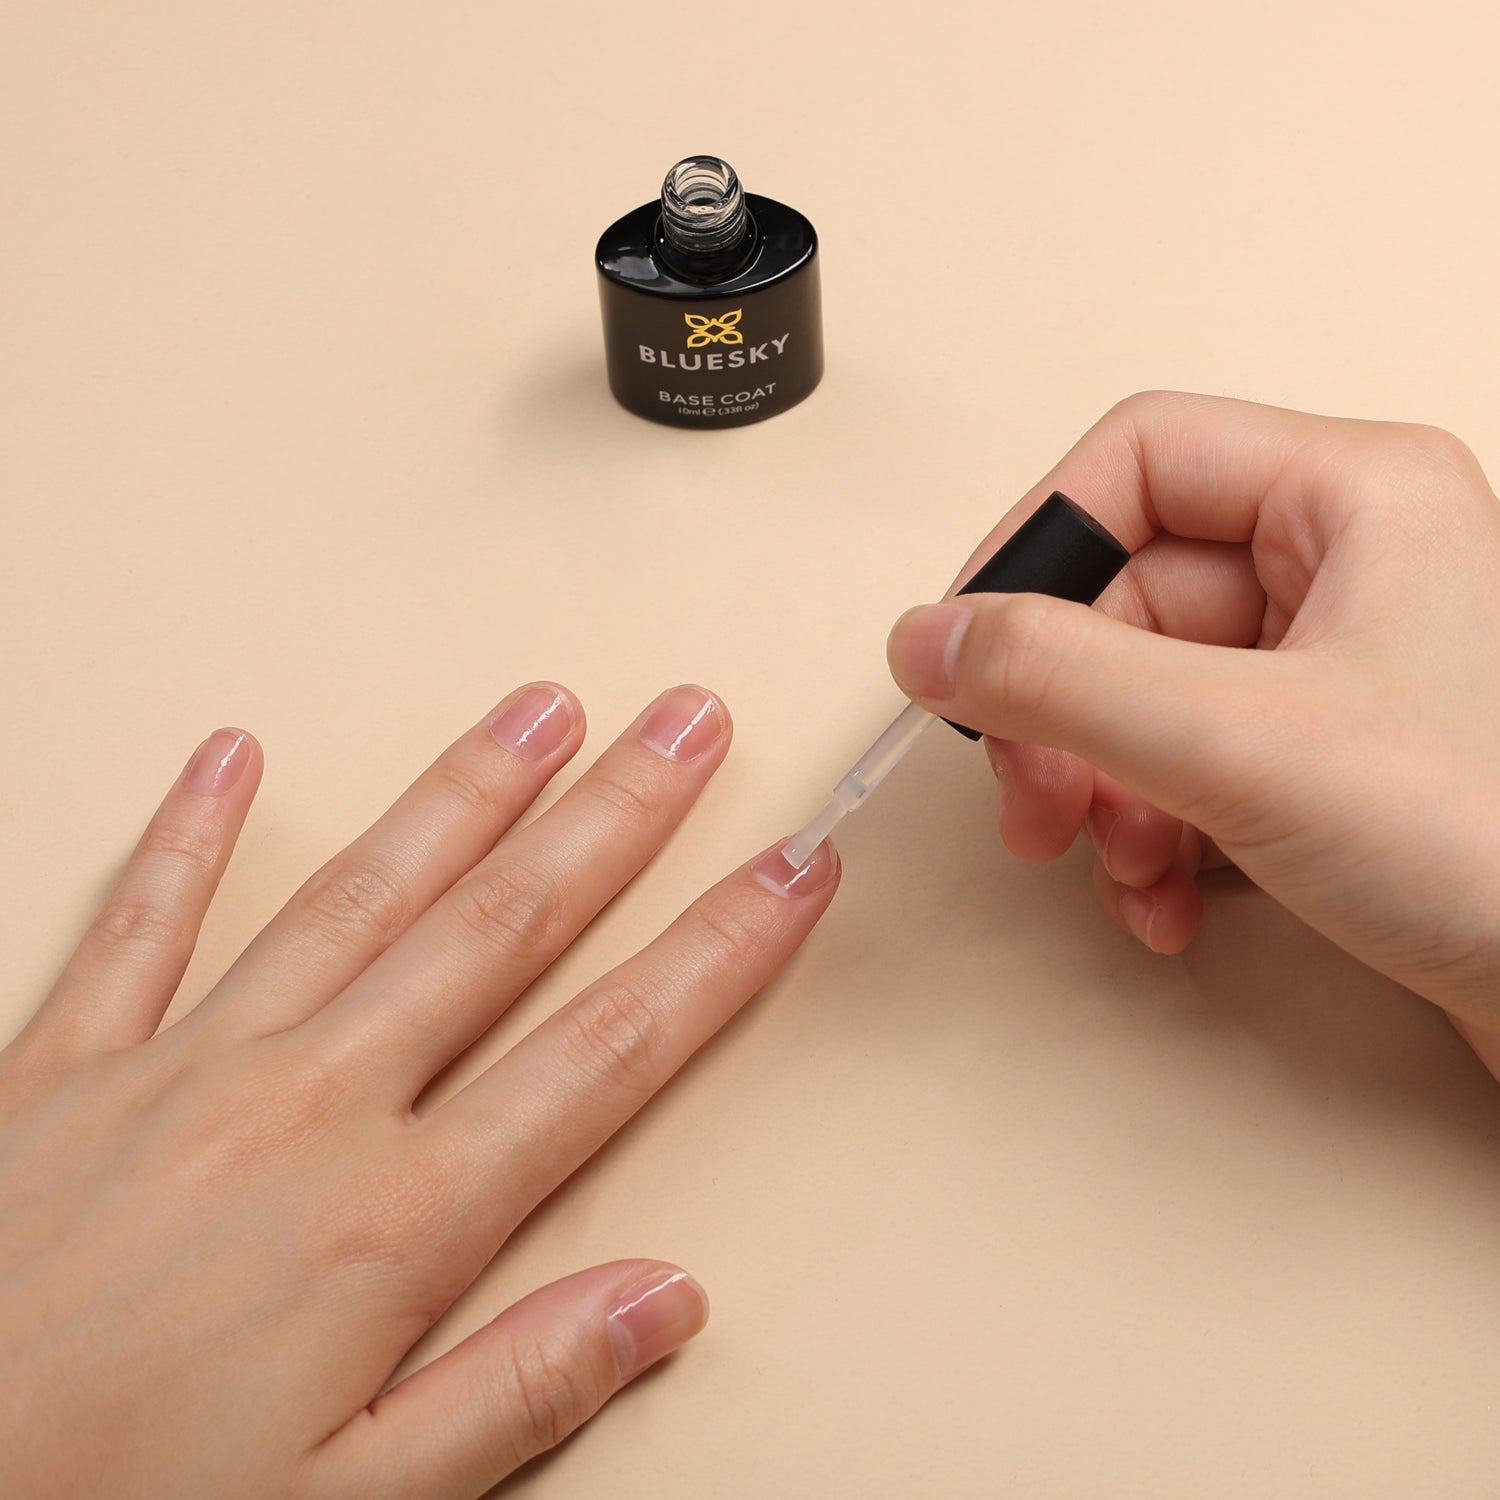
- Gel base coat 10ml
- Non-sticky No Wipe gel top coat 10ml
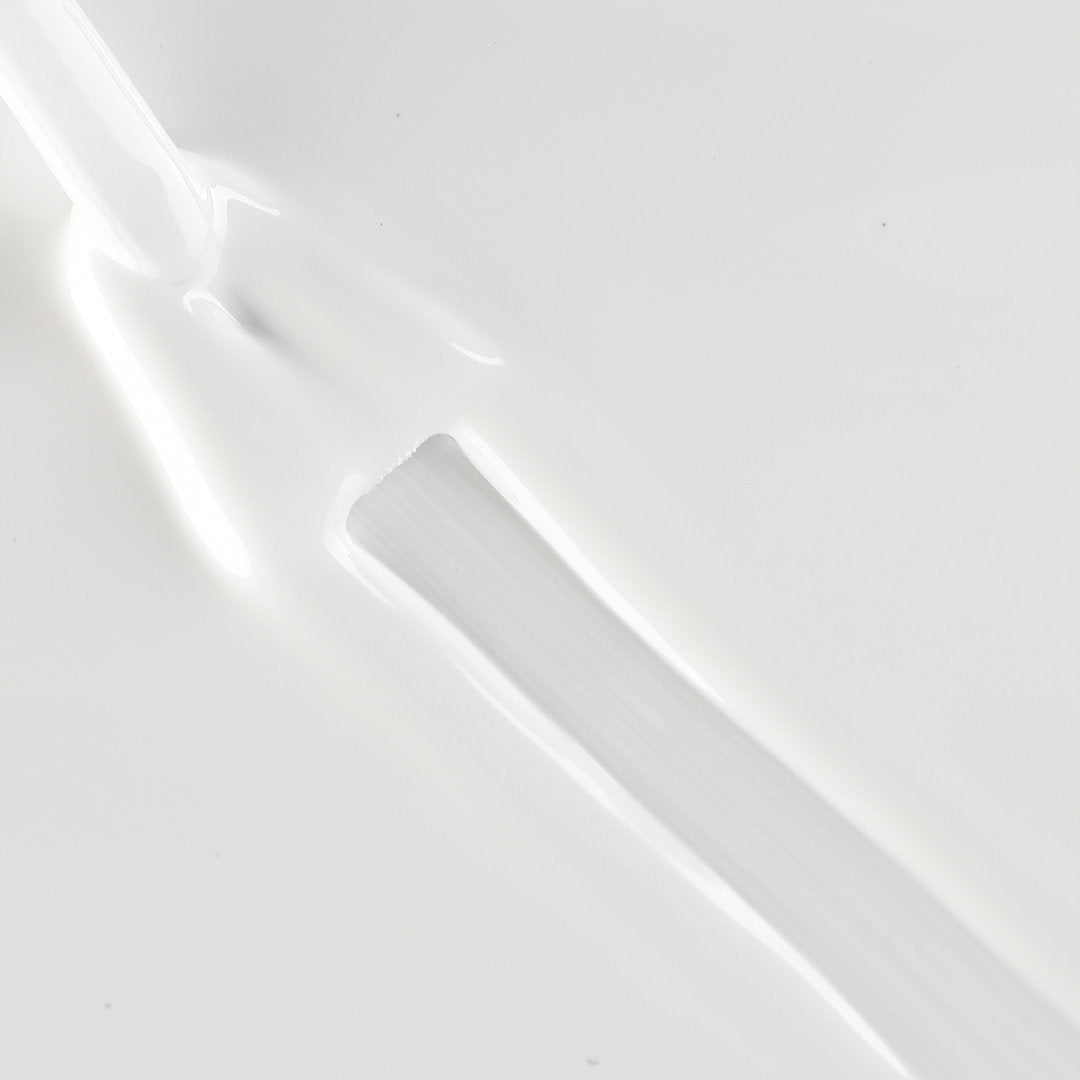
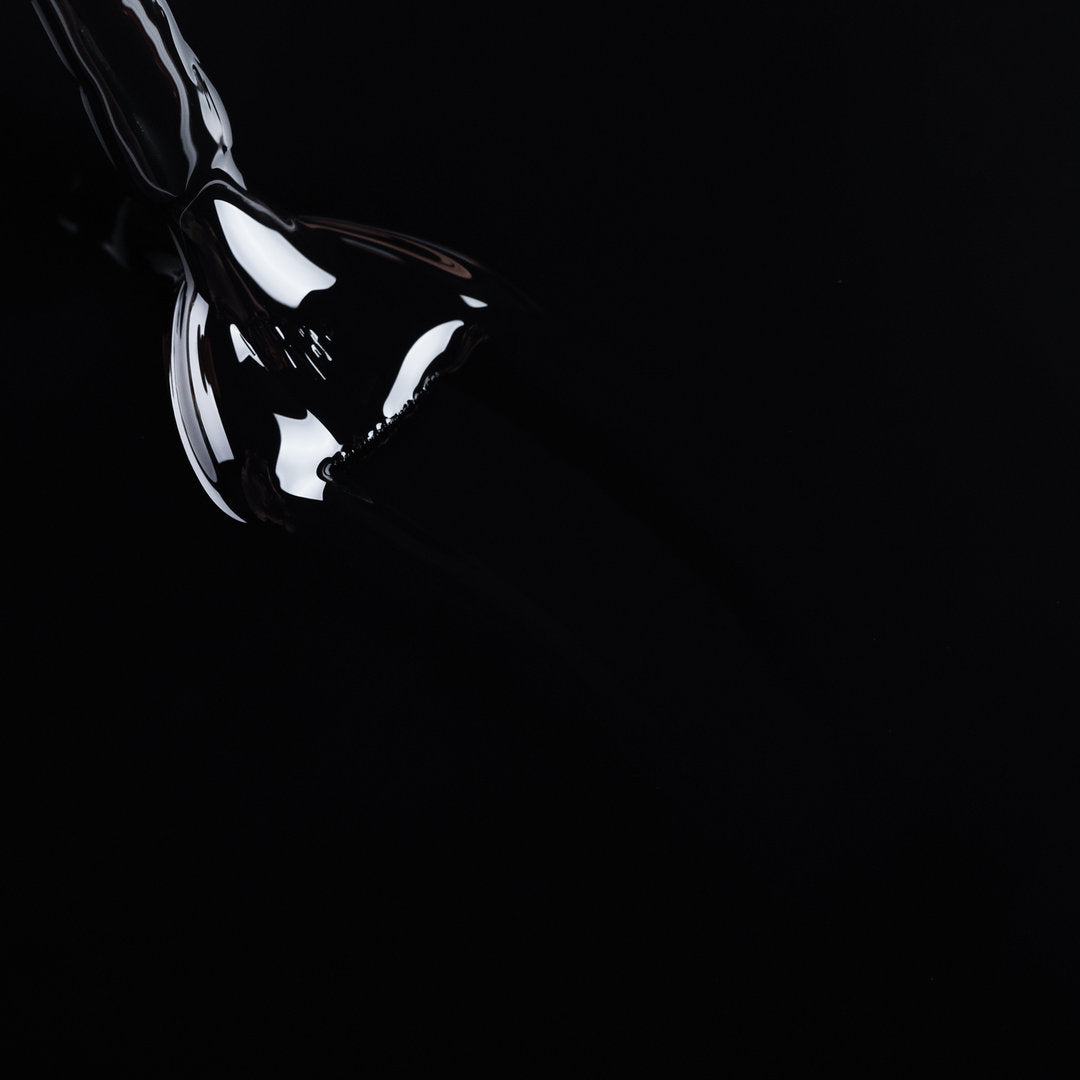
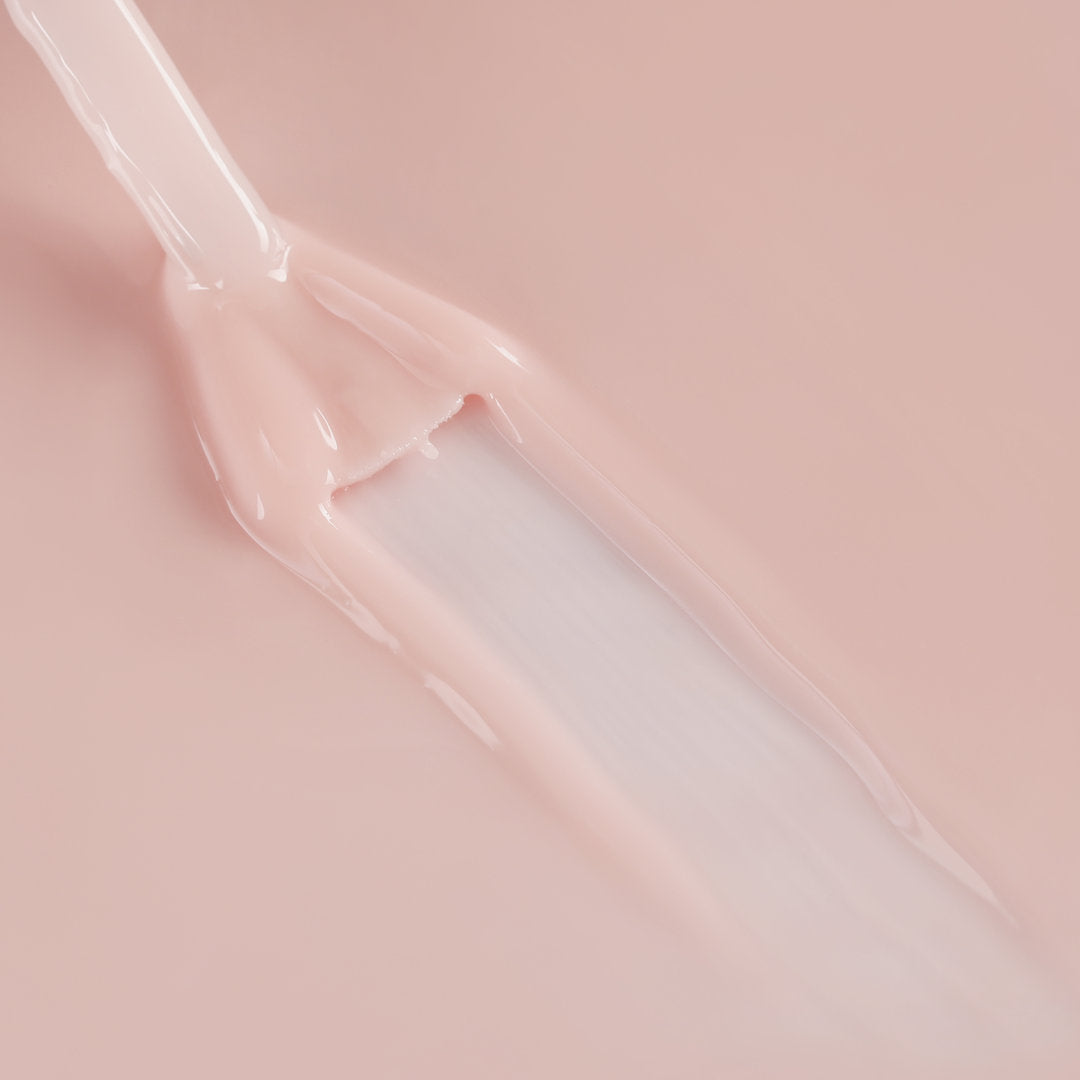
- 3 color gel polishes (Dolly Milk CM02, Moonwhite MO06, Blackpool 80518)
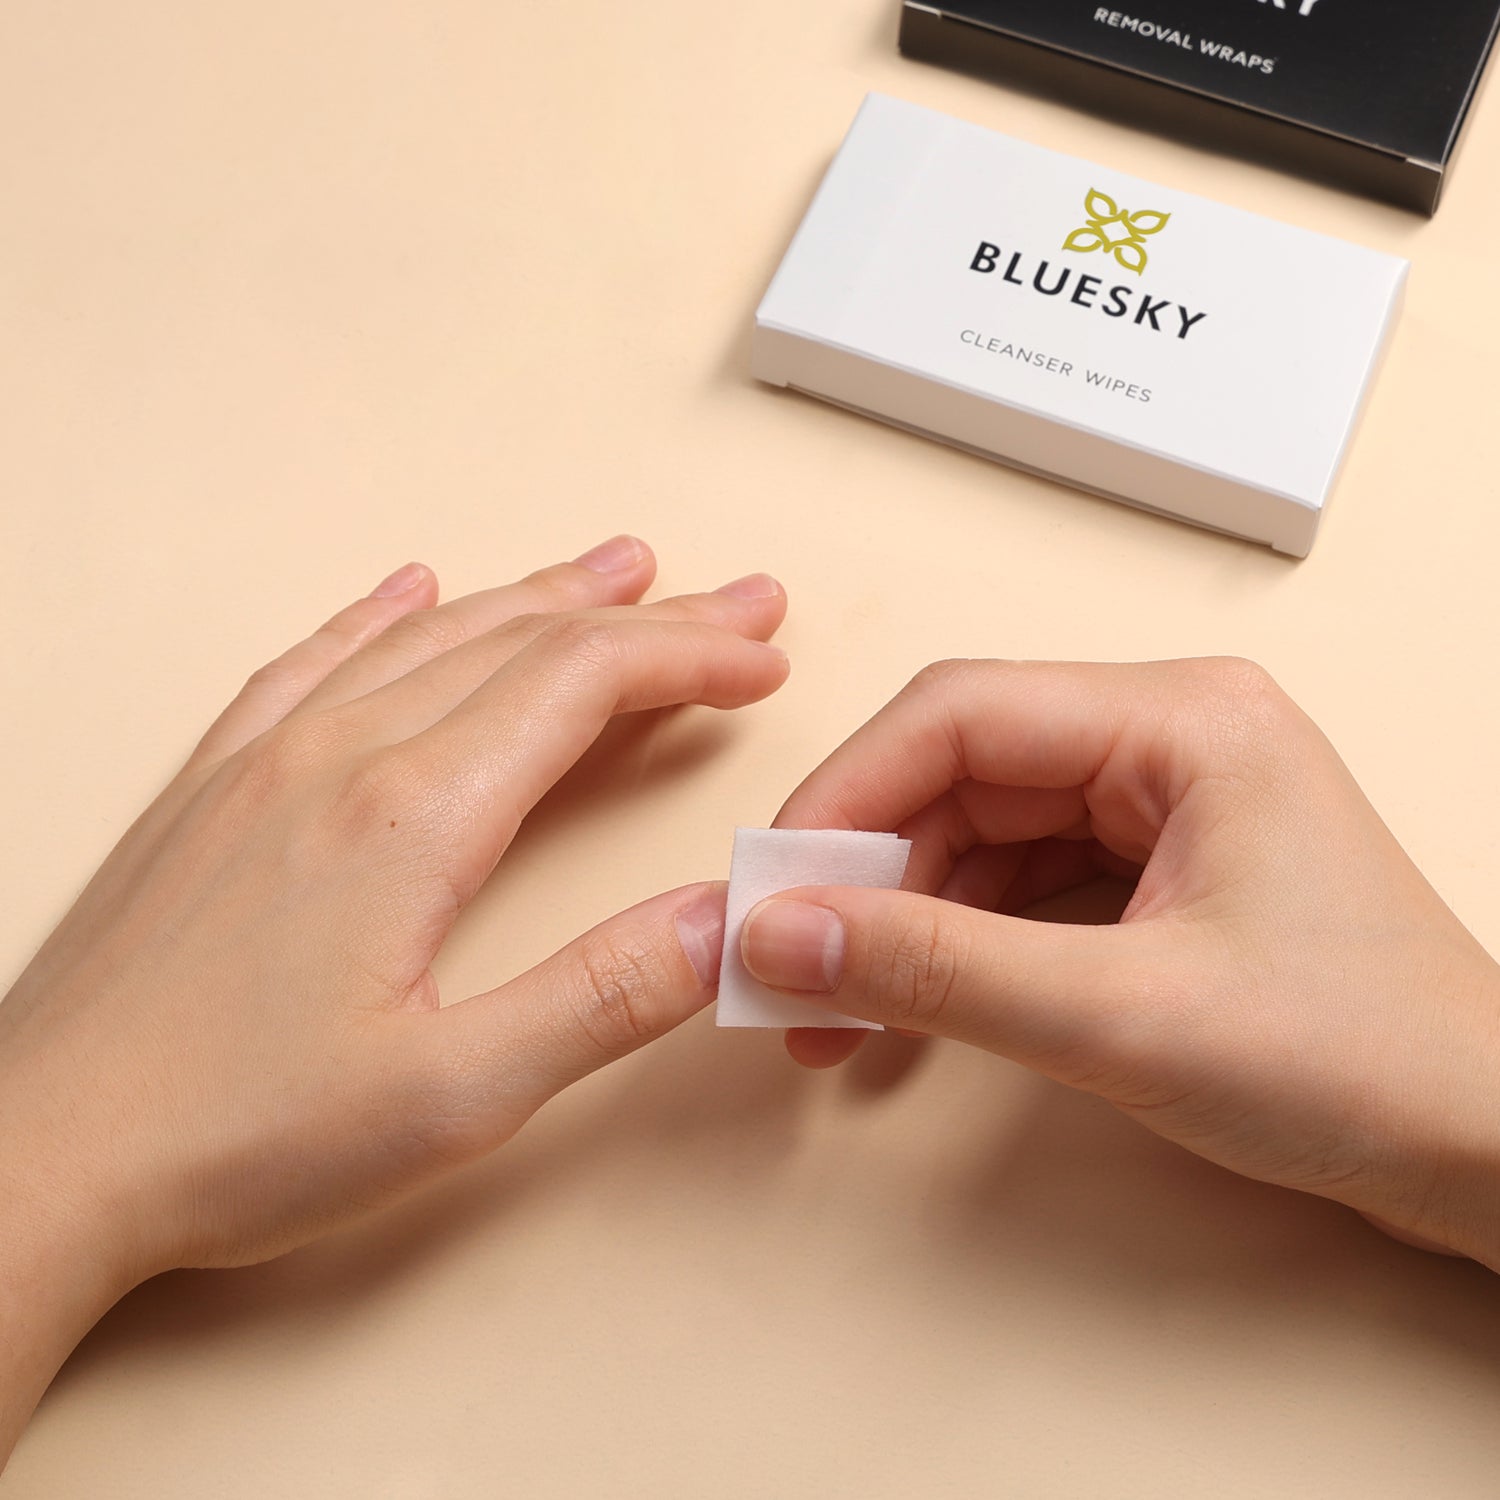
- 20 disposable cleaning wipes
- 20 disposable removal pads
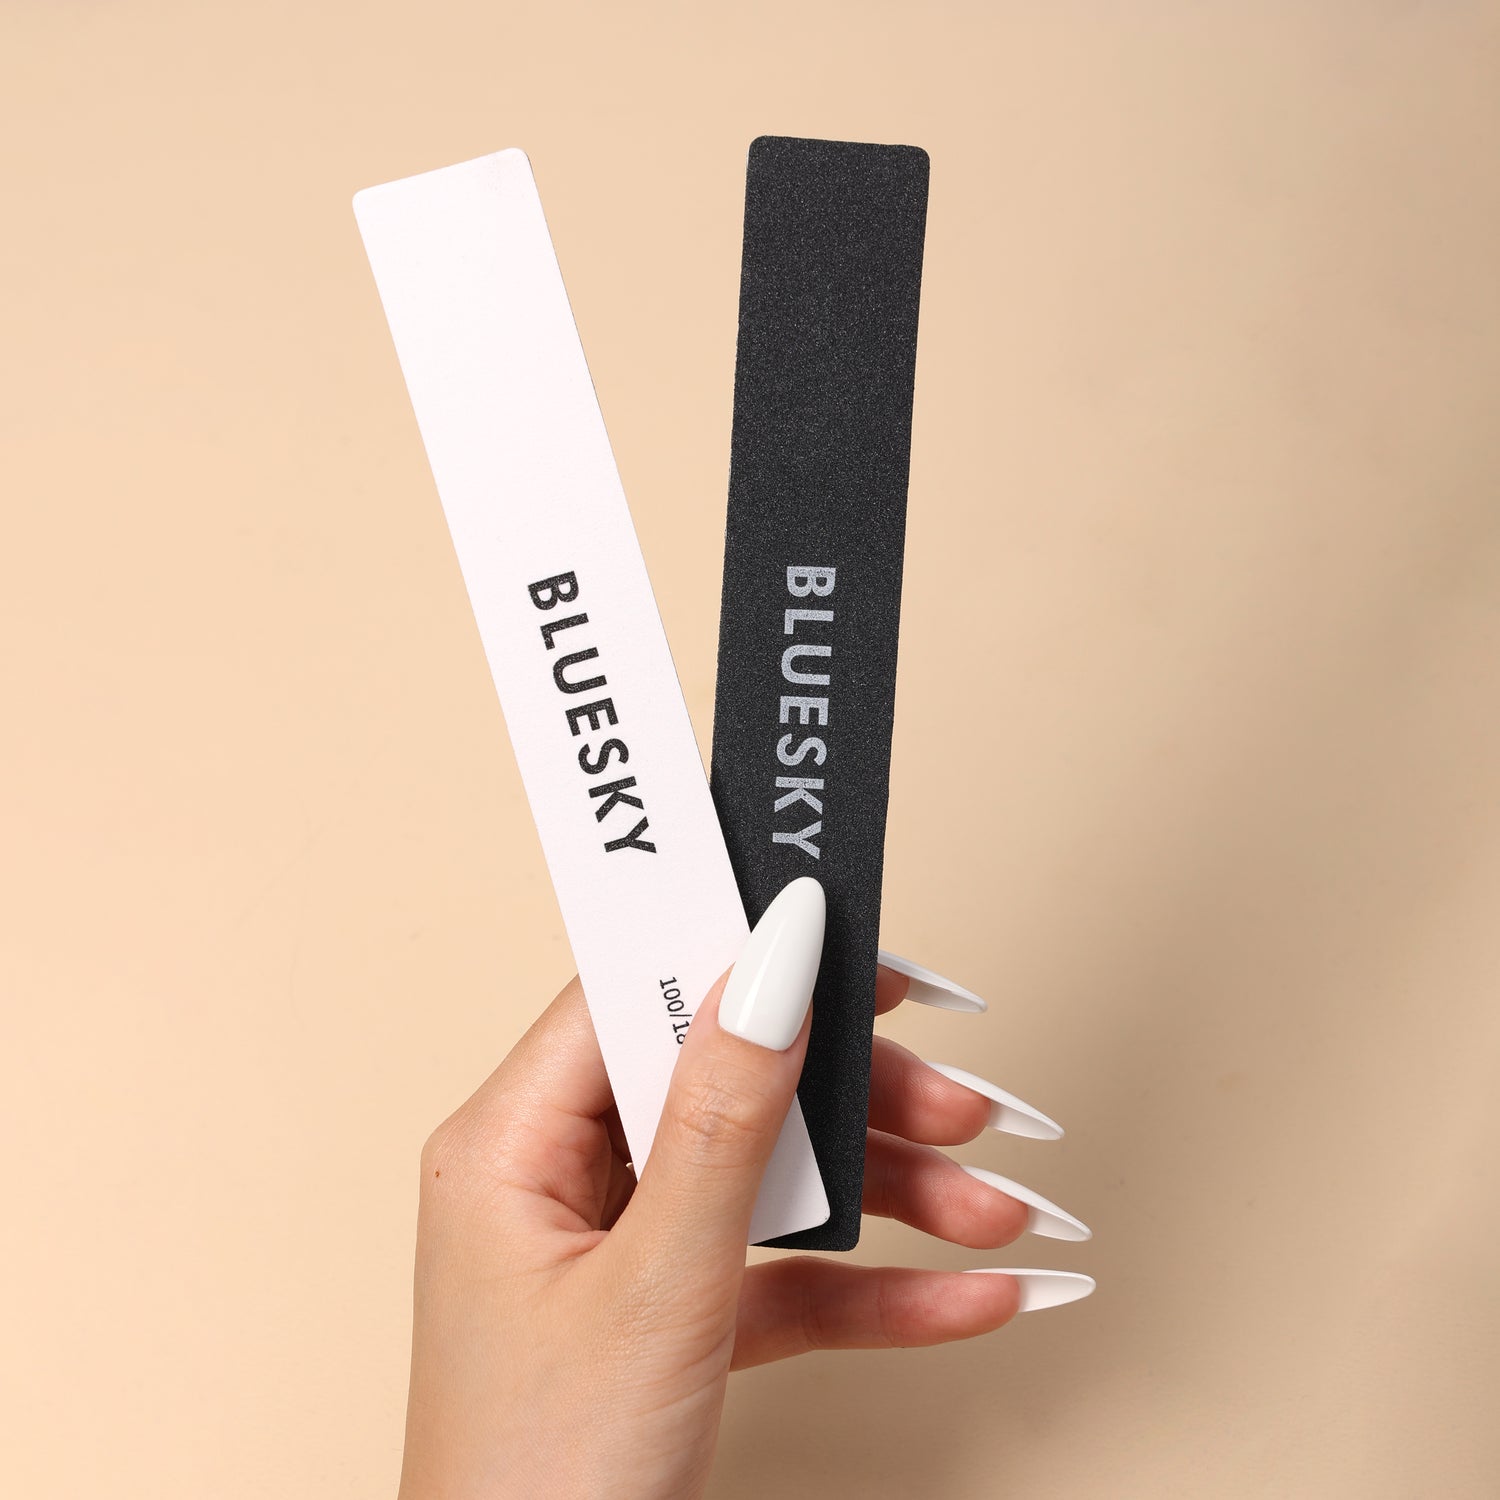
- Nail file 100/180grit
- Buffer file 100/180 grit
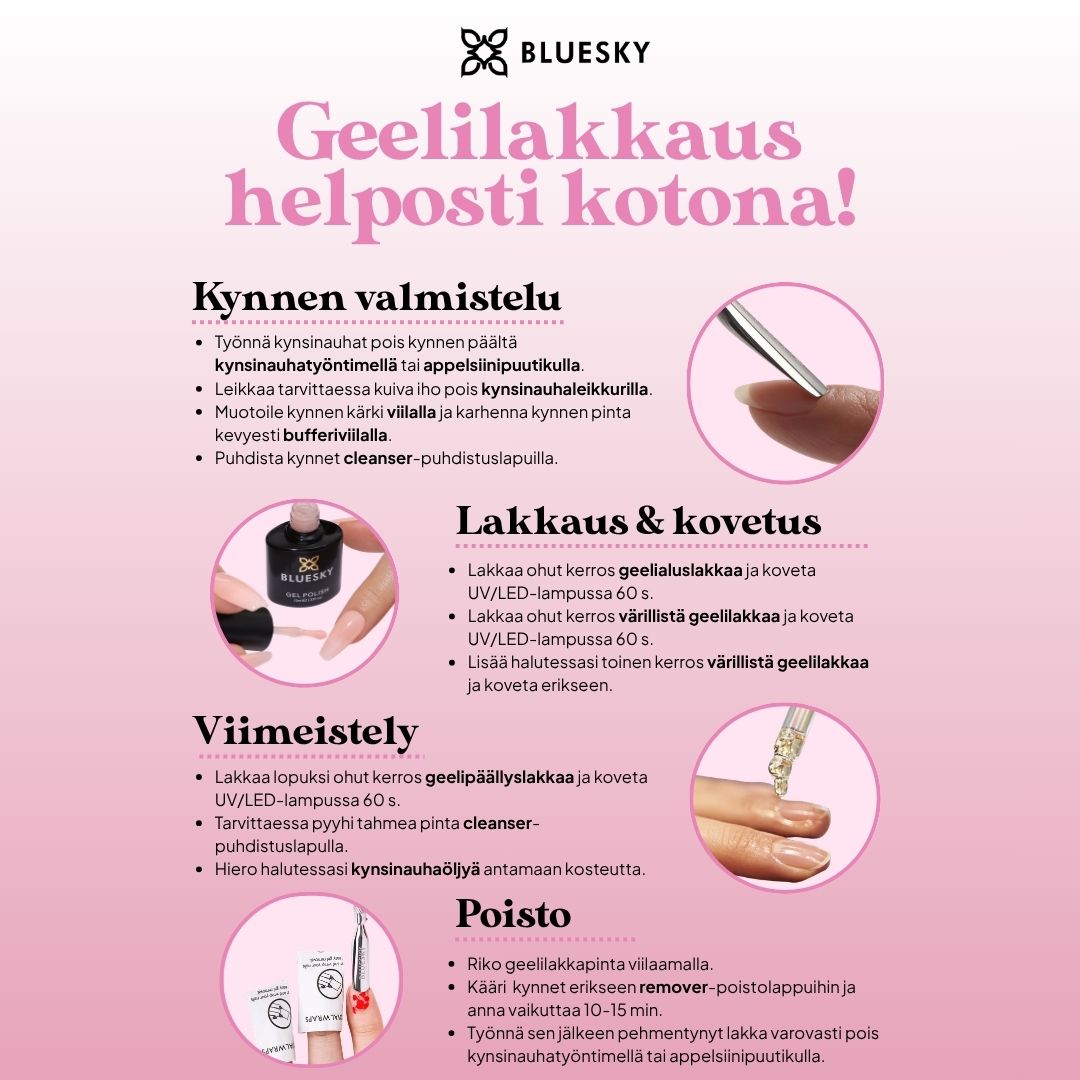
Instructions
1. Push the cuticles away from the nail and, if desired, trim the dry skin with cuticle clippers or scissors.
2. Shape the tip of the nail and lightly roughen the surface of the nail with a block or buffer file.
3. Clean the nail surface with cleanser pads.
4. Apply gel base coat to the nail, starting from the middle of the nail and pushing the brush towards the cuticle line. Press the brush lightly and apply the polish towards the free tip of the nail. Also coat the tip of the nail if the nail is long enough. Cure in a UV lamp for 2 min or in a LED lamp for 60 s.
Please note that after curing gel polishes, the surface should remain sticky, meaning that the polish has cured properly despite the sticky surface.
5. Shake the color polish well before use and swirl the excess polish around the inside of the bottle. To apply the color evenly, hold the brush flat and make light strokes towards the tip of the nail. Cure under UV lamp for 2 min or LED lamp for 60 s.
6. Apply a second coat of color polish using the same technique as before and cure with a lamp. You can also apply a third coat if necessary.
7. Apply the gel top coat to the nail as mentioned above and cure with a lamp. Regular gel top coat leaves a sticky surface that must be wiped off with a cleanser. No Wipe top coat does not need to be wiped off after curing.
8. Rub cuticle oil and you're done!
Notes :
- Highly pigmented and very dark polishes should be applied as thinly as possible. A layer that is too thick may not cure properly, as light cannot penetrate the thick pigment layer. You can tell if the gel is under-cured by the fact that it wrinkles after curing and when you wipe it off, wet gel is revealed underneath the top layer.
- Avoid keeping products in front of a UV/LED lamp, as the products will harden and spoil. The sun's UV rays also harden the products, so do not apply varnish near a window or outside, even on cloudy days.
- If bright streaks appear in the varnish, the product pigment has separated from the varnish and the bottle must be stirred properly.
- After gel polishes harden, the surface remains sticky so that the gel layers stick to each other. This means that the polish has hardened properly despite the sticky surface. If contaminants stick to the sticky surface, they can be removed using cleanser cleaning pads.
