


Bluesky Gum Gel Starter Kit
- In stock

Product description
Note: This starter kit does not include a nail lamp for curing the products.
If you also want a lamp, you can find another starter kit here .
The Bluesky Gum Gel starter kit contains almost everything you need to create acrygel nails.
The package includes:
- Bluesky Base 01 Gel Base Coat 10 ml
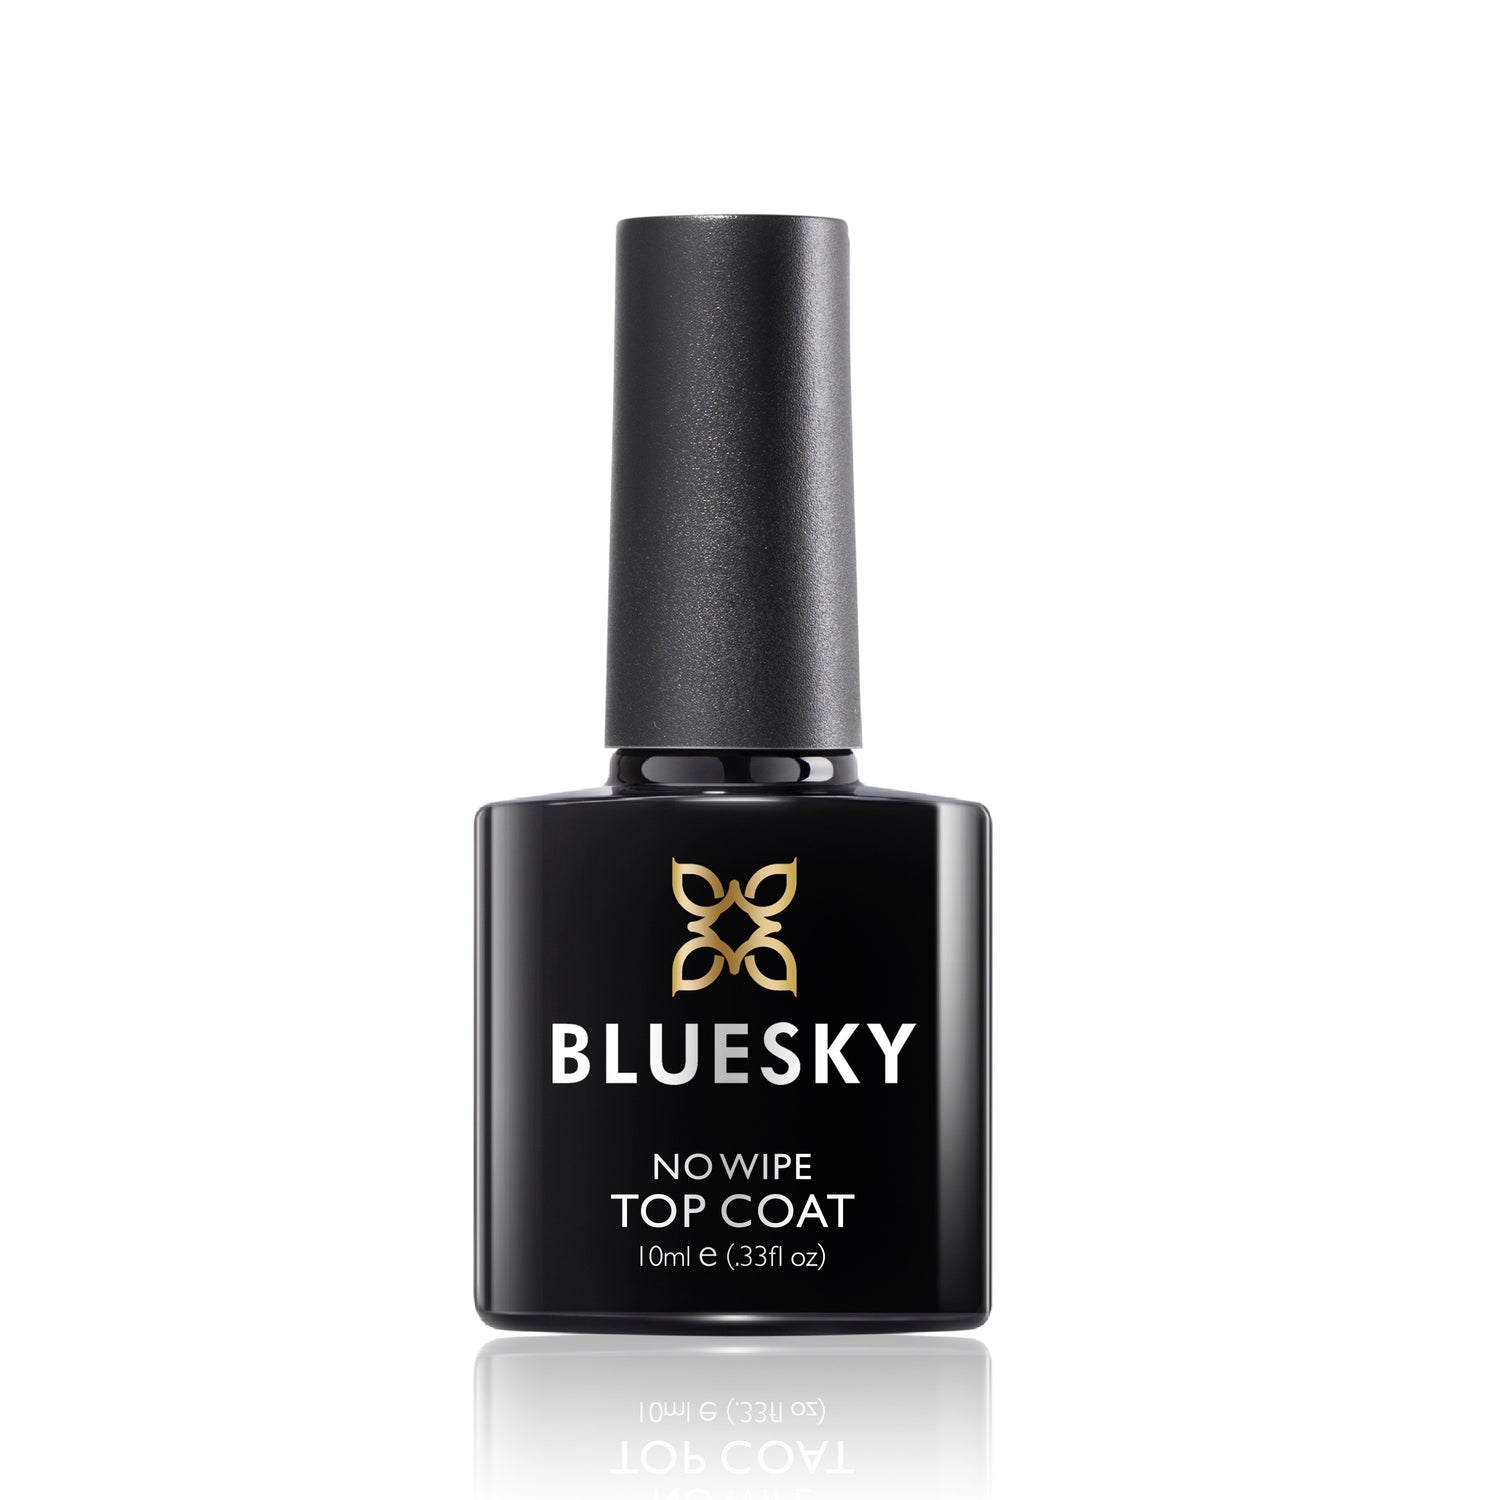
- Bluesky No Wipe Gel Top Coat 10 ml
- Bluesky PH Bond 10 ml
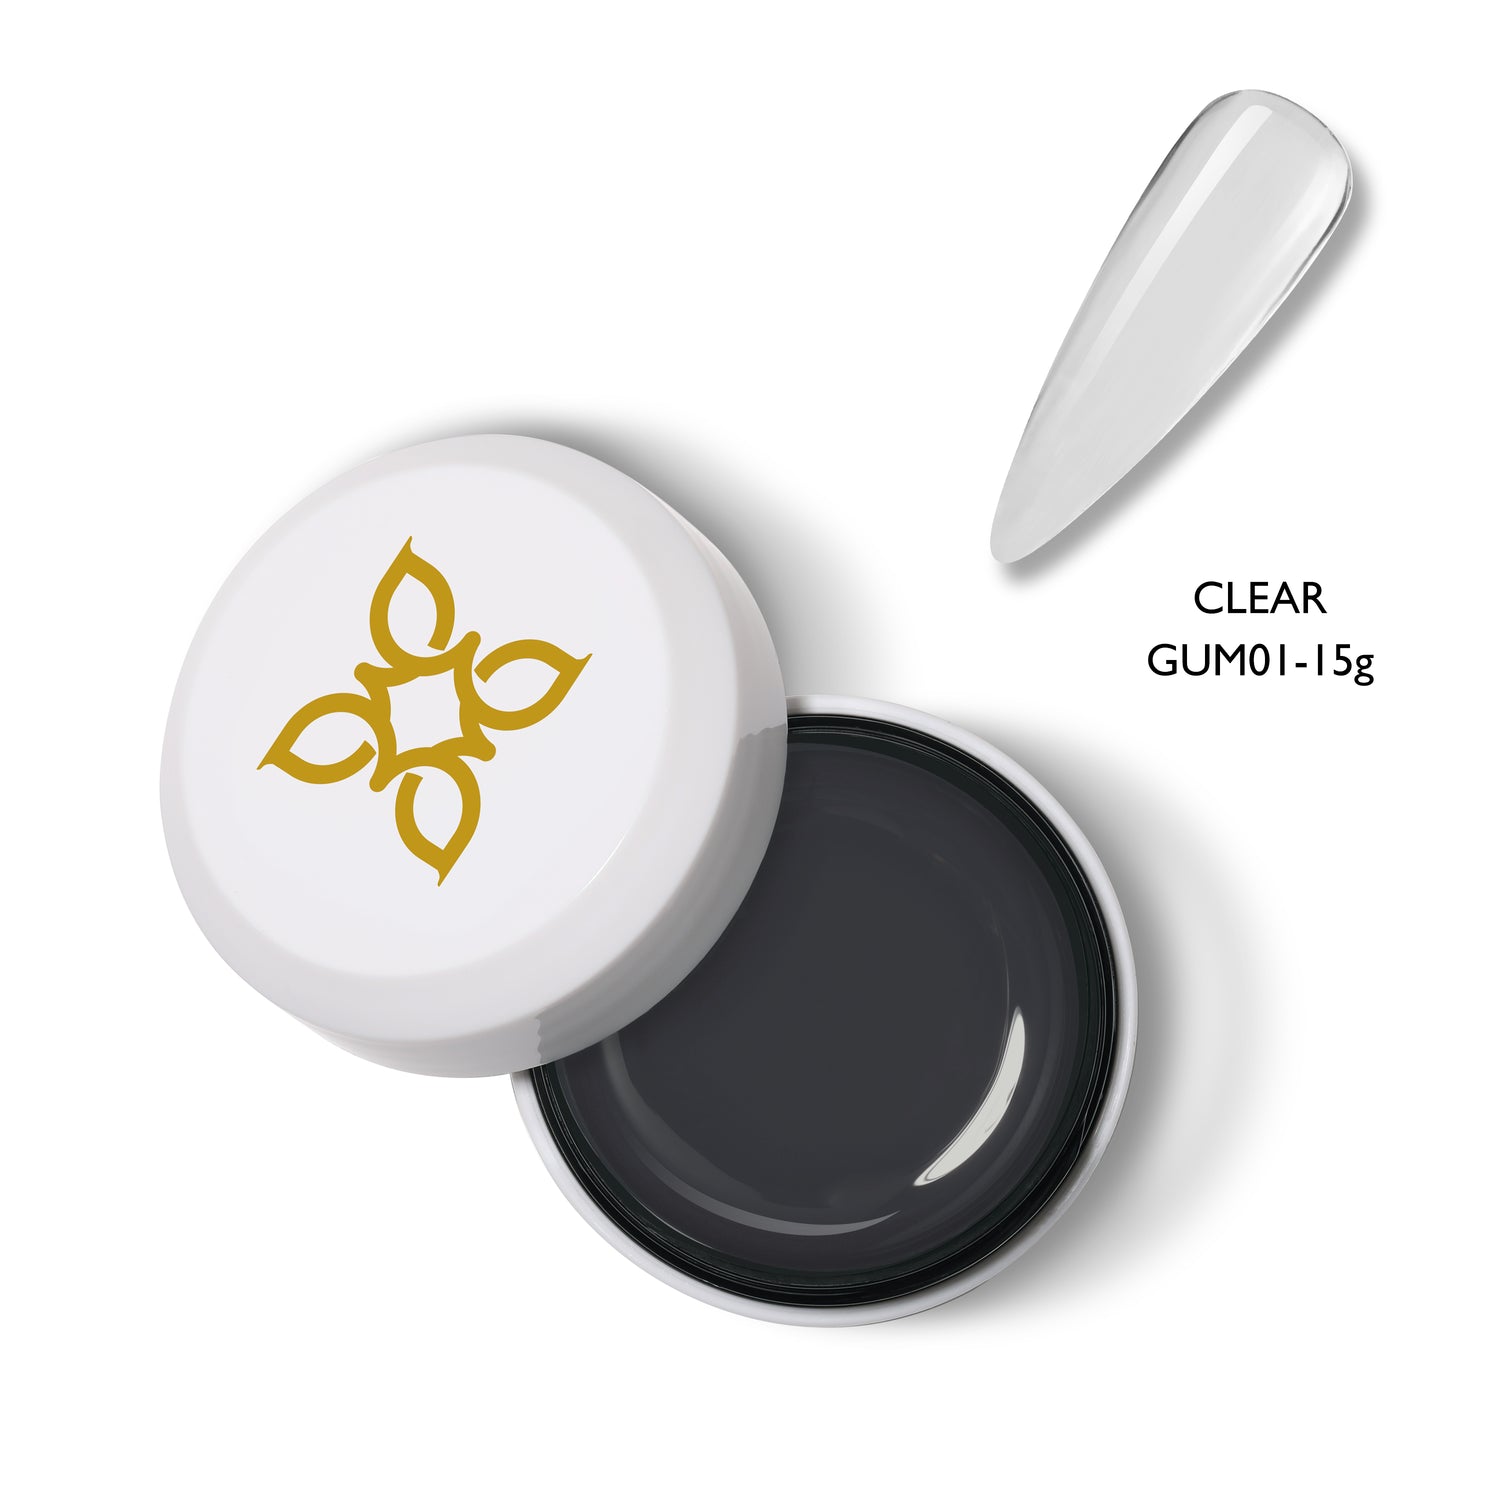
- Bluesky Gum Gel Clear 15 g
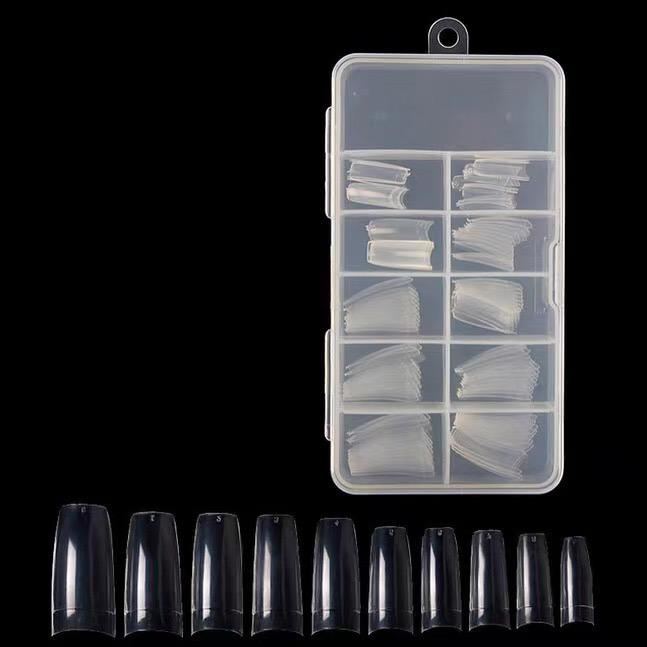
- 100 pcs Tips Clear
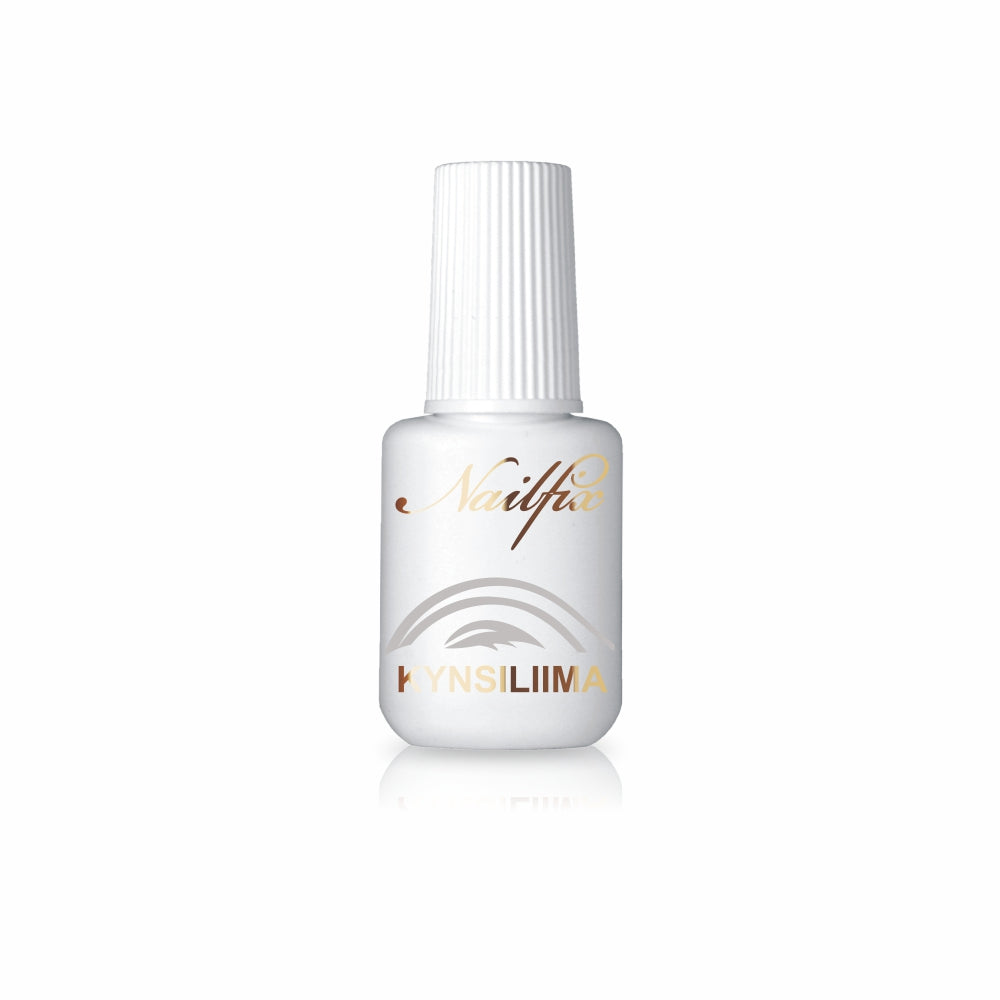
- Nailfix Nail Glue with brush 7 g
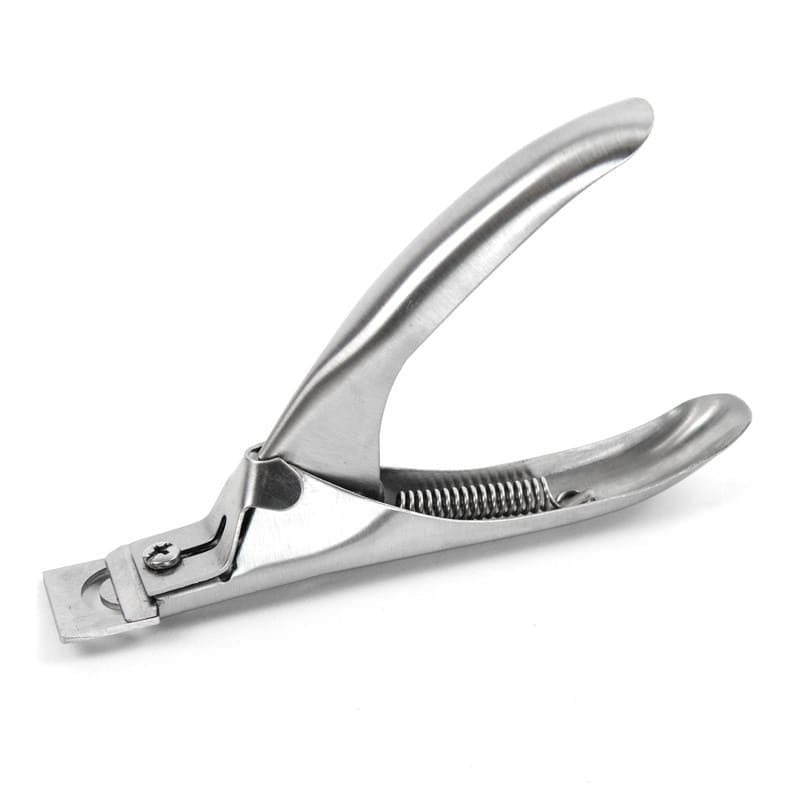
- Tip cutters
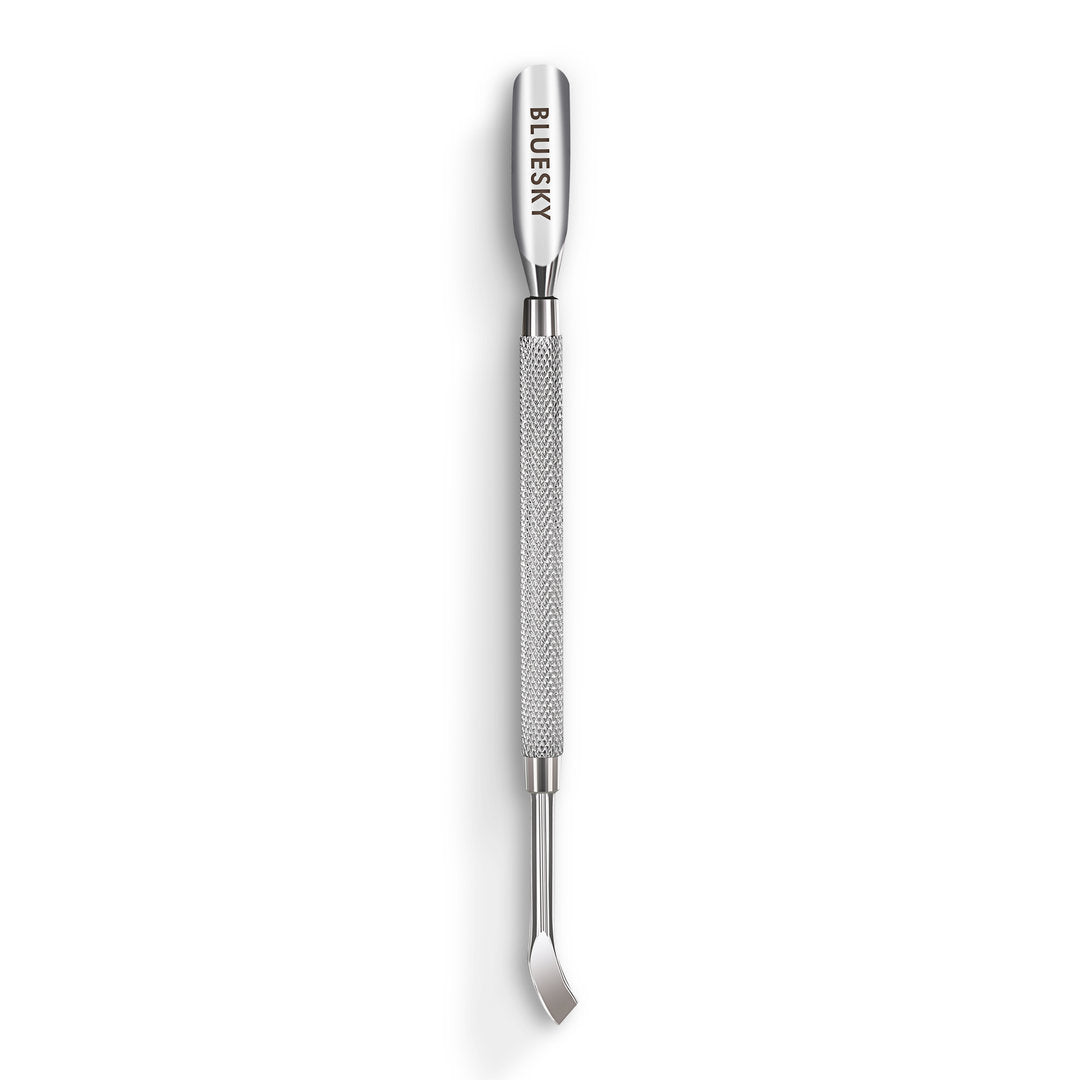
- Bluesky Metal Cuticle Pusher
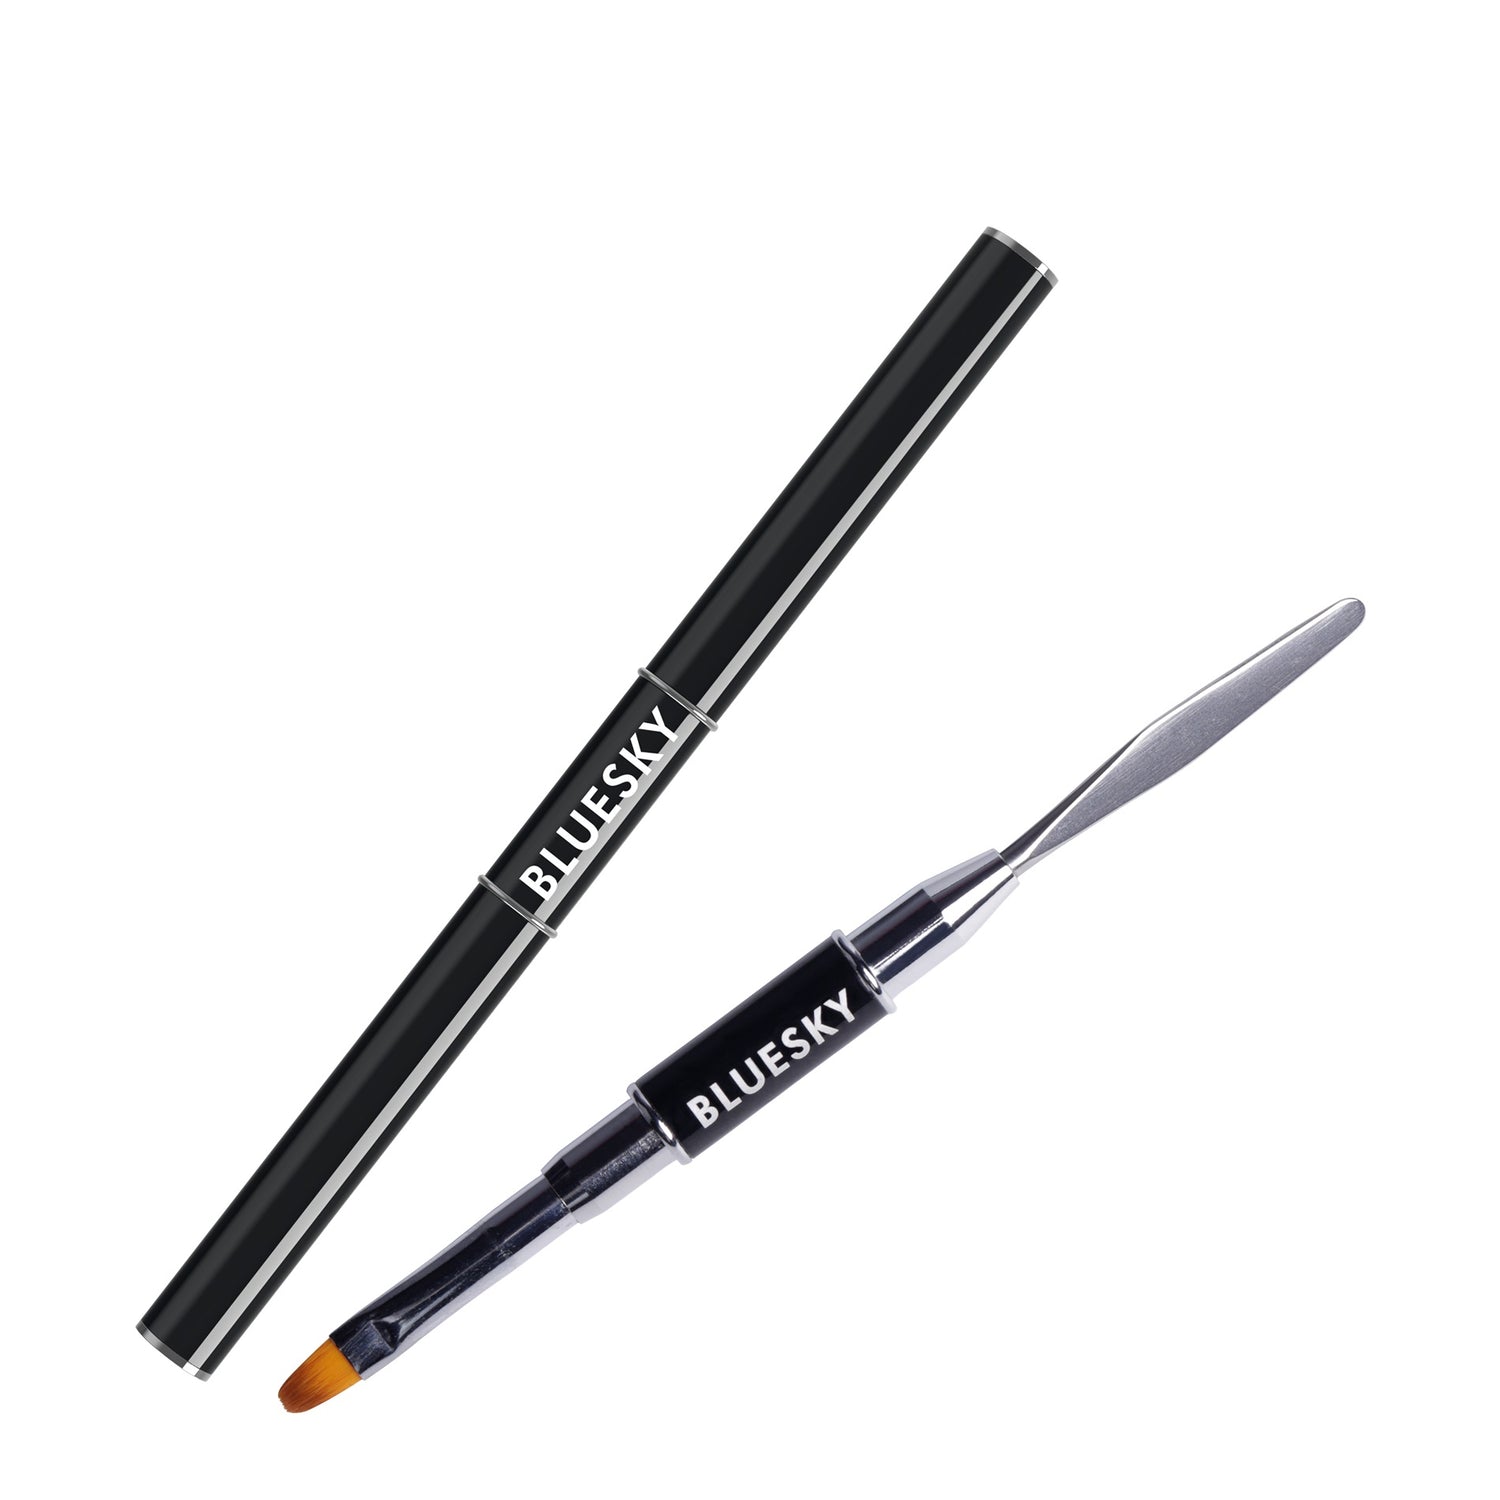
- Bluesky 2in1 Spatula and Brush
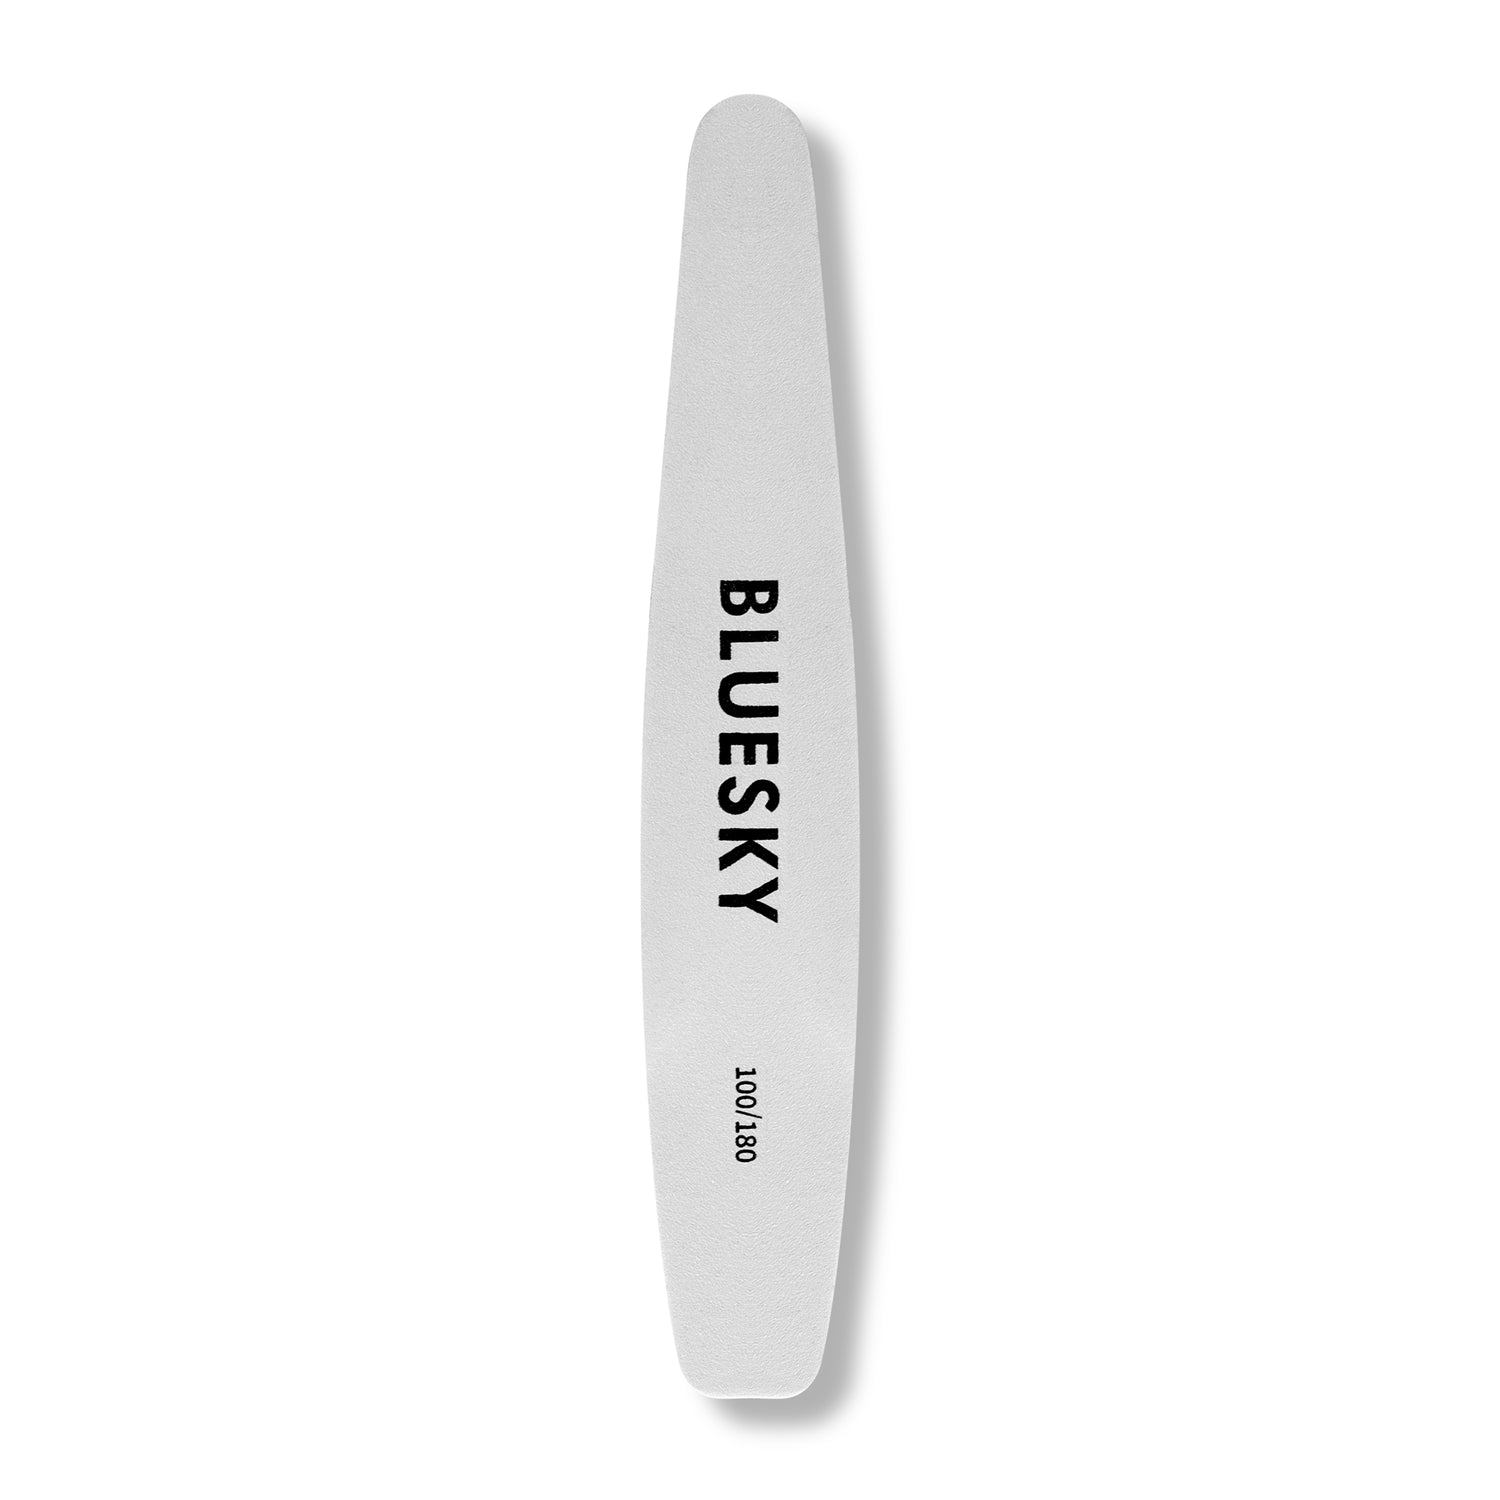
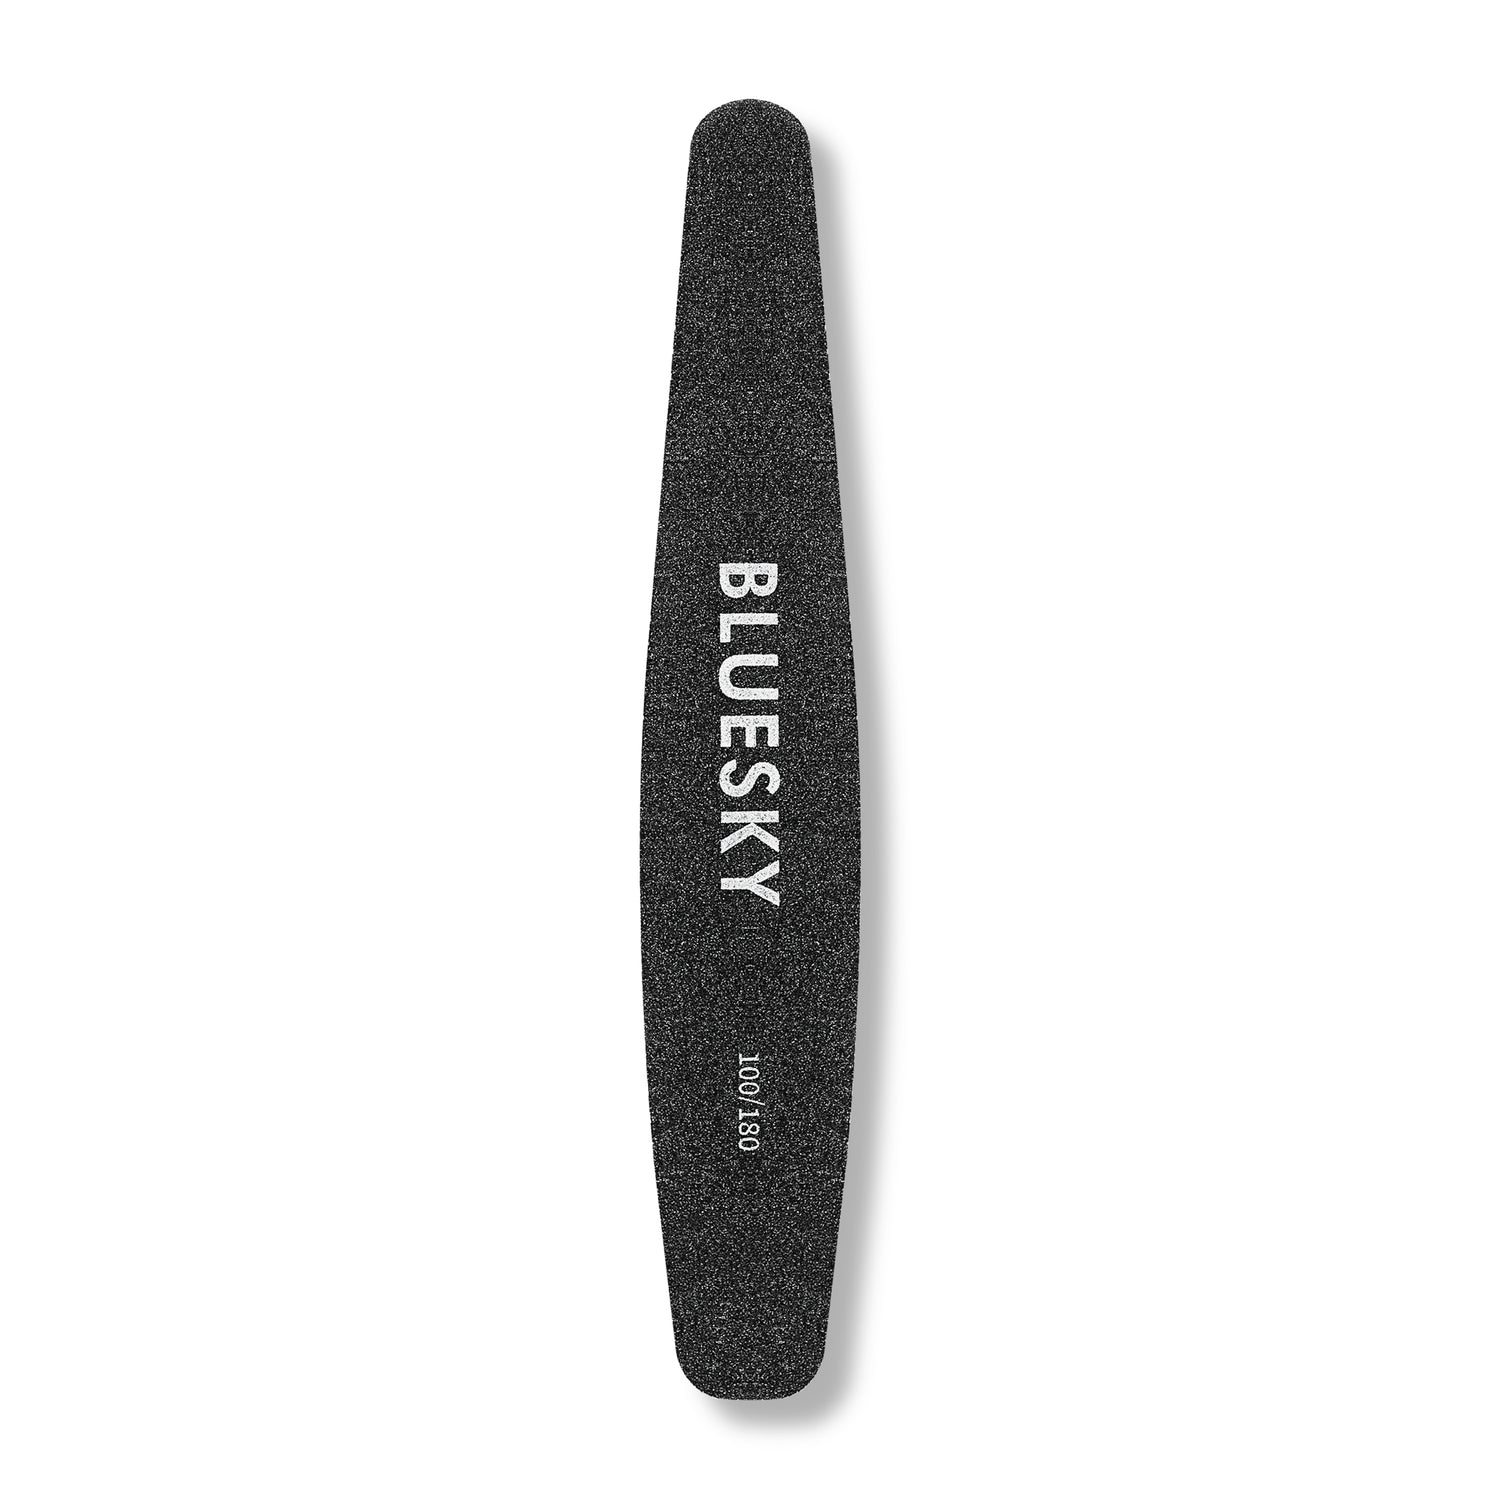
- Bluesky shaping file 100/180 grit
- Bluesky buffer file 100/180 grit
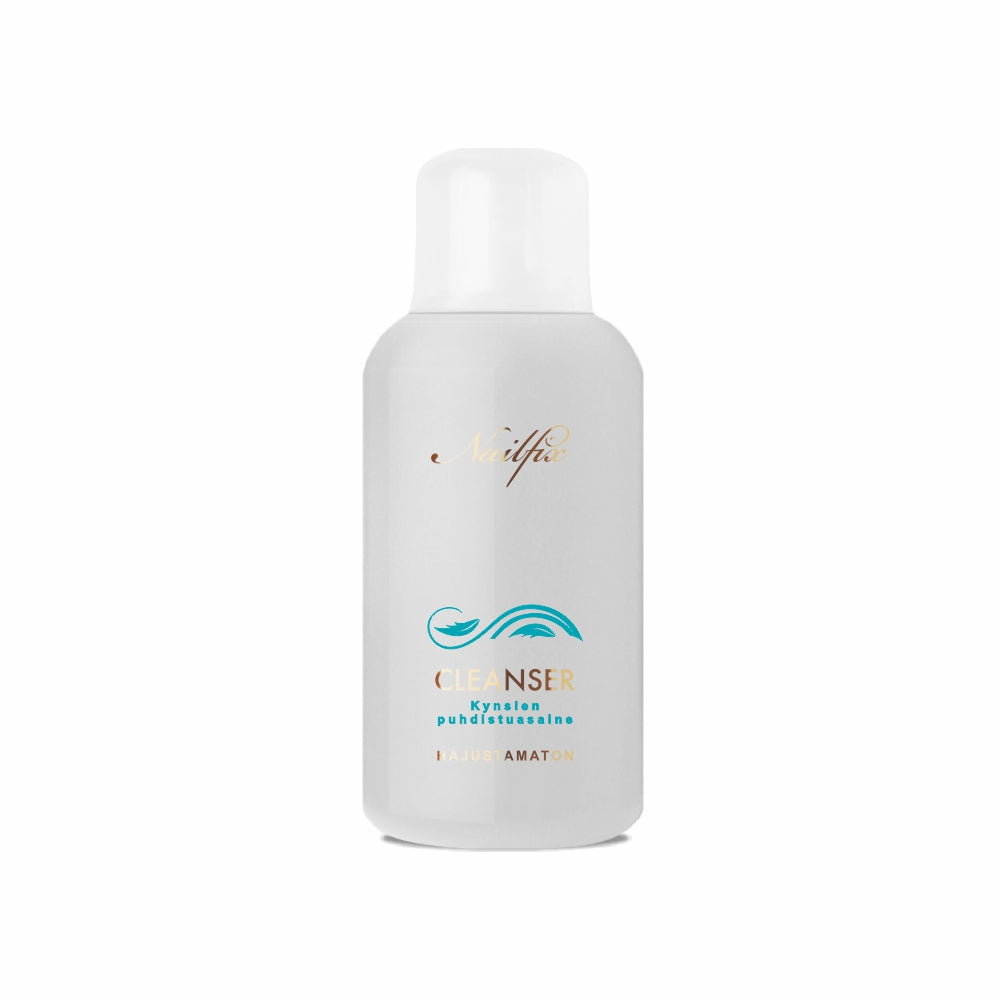
- Nailfix 150 ml Cleanser Unscented
- Zelleten 250 pcs lint-free cleaning wipes
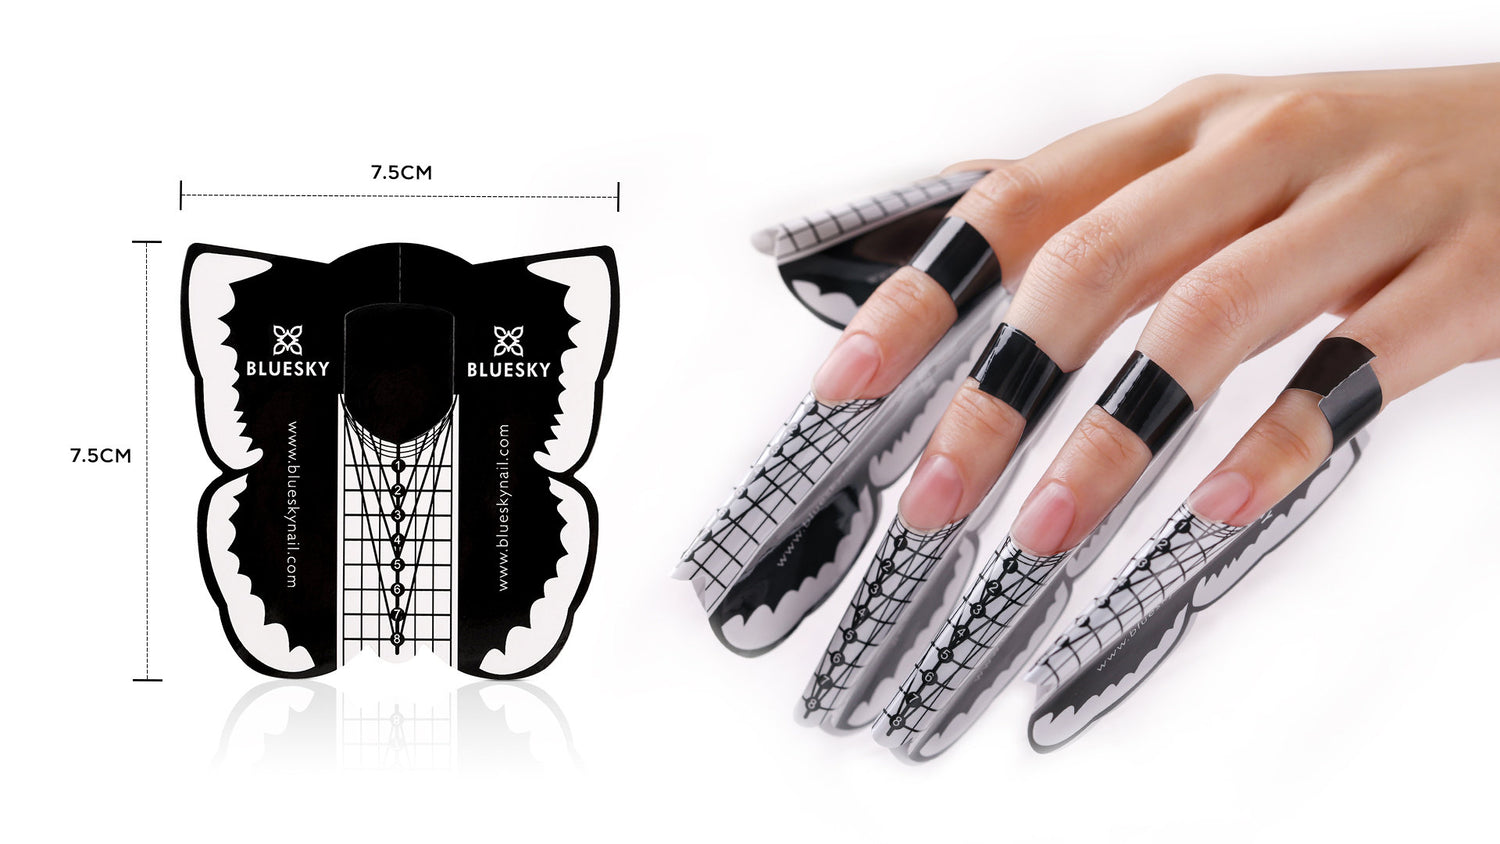
- Bluesky standard forms 100 pcs
- Small glass container
If you want to change the color of the Gum Gel, please let us know in the comments field of your order.
Instructions
1. Push the cuticles away from the nail and clean the dry skin with cuticle clippers or scissors if necessary.
2. Shape the tip of the nail and lightly roughen the surface of the nail using a block or buffer file. Avoid over-filing the nail.
3. Clean the nail surface with Bluesky's ready-made cleaning pads or cleanser and lint-free pads.
4. Apply a layer of gel base coat starting from the middle of the nail and pushing the brush towards the cuticle line. Press the brush lightly to spread the bristles towards the edges of the nail and pull the brush towards the free tip. Also coat the tip of the nail if the length is sufficient. Cure under UV lamp for 2 min or LED lamp for 60 s.
5. Add Gum Gel to the center of the nail using an orange stick or spatula. Dip the brush in Cleanser and tap the tip lightly on a paper towel to absorb any excess liquid. Shape the Gum Gel by dabbing the paste with a damp brush. If the brush sticks to the gel, re-wet the brush. When you are satisfied with the shape, cure under UV lamp for 2 min or LED lamp for 60 s.
6. Clean the nail surface with the prepared cleaning pads or Cleanser to remove any sticky residue, file the nail into shape and smooth it out. You can finish the filing by using a buffer or block file, then clean the nail surface again.
7. If you wish, you can now add color and decorations to the nail. Then apply a layer of gel top coat using the same technique as the base coat. Cure UV for 2 min or LED for 60 sec. No Wipe top coat does not need to be wiped off after curing.
8. Moisturize your skin with cuticle oil and you're done!
Notes:
- Avoid keeping products in front of a UV/LED lamp, as the products will harden and deteriorate. The sun's UV rays will also harden the products, so do not use the products in front of a window or outside, even on cloudy days.
- After the gel cures, the surface remains sticky so that the gel layers stick to each other. This means that the polish has cured properly despite the sticky surface. If impurities stick to the sticky surface, they can be removed using cleanser pads.
- If you have problems with the durability of your polishes or gels, you may need separate primers or a different type of base coat. For help with durability issues, you can contact us by email or by visiting our store.
