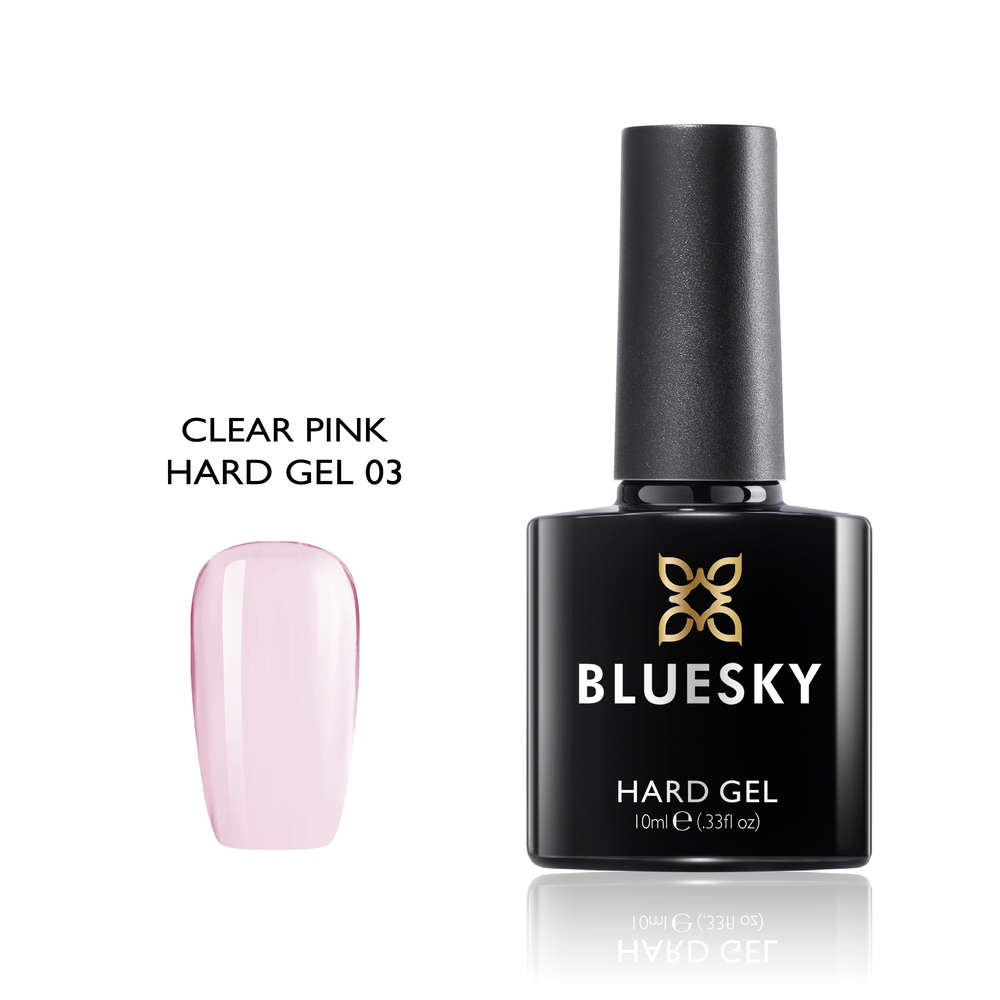
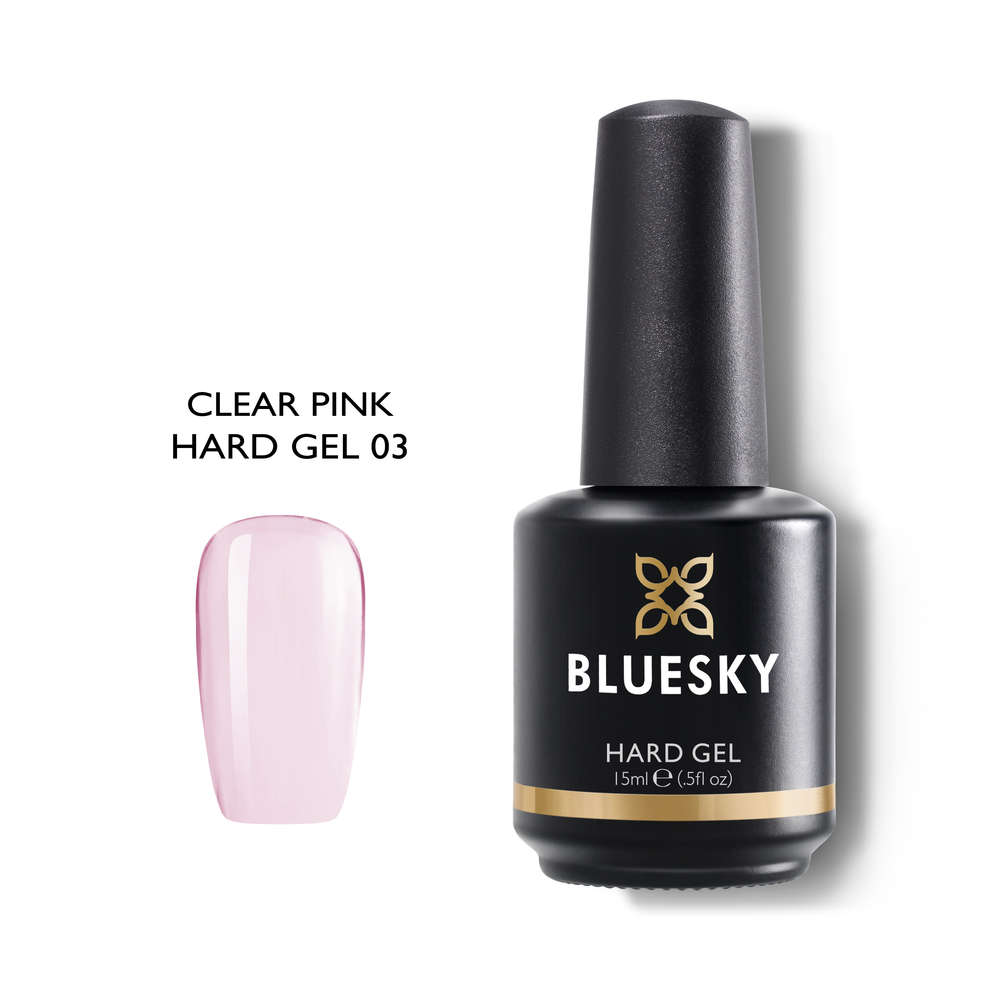
Bluesky Hard Gel, Soft Clear Pink
Composition:
- Bright
- In stock
Product description
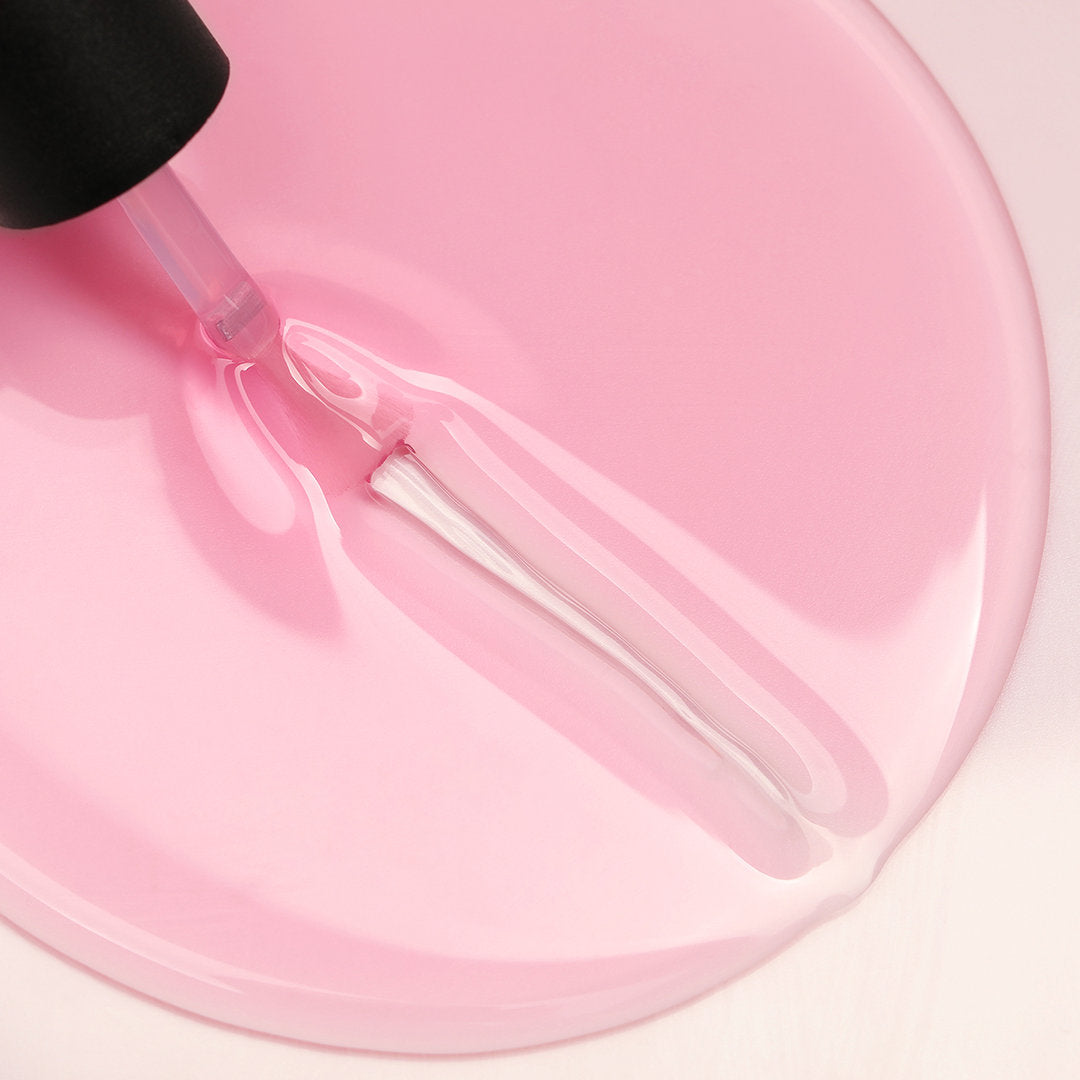
Hard Gel is intended for light strengthening of your own natural nails. Despite the name, the product has a very thin and runny consistency, and after hardening it becomes soft and flexible. Hard Gel requires a Bluesky gel base coat. The product can be applied with layers of color or can also be used as is with just a top coat.
Like gel polishes, Hard Gel can be removed by soaking in acetone, but in the long run, the most gentle way for natural nails is to have a maintenance treatment. During maintenance, the old color is removed from the base and gel is added to the new growth area of the nail. After this, a new gel polish and decorations can be applied over the base.
*Colors may differ from reality.
Instructions
1. Push the cuticles away from the nail and clean the dry skin with cuticle clippers or scissors if necessary.
2. Shape the tip of the nail and lightly roughen the surface of the nail using a block or buffer file. Avoid over-filing the nail.
3. Clean the nail surface with Bluesky's ready-made cleaning pads or cleanser and lint-free pads.
4. Apply a layer of gel base coat starting from the middle of the nail and pushing the brush towards the cuticle line. Press the brush lightly to spread the bristles towards the edges of the nail and pull the brush towards the free tip. Also coat the tip of the nail if the length is sufficient. Cure under UV lamp for 2 min or LED lamp for 60 s.
5. Mix the product before use and swirl the excess gel around the inside neck of the bottle. First, apply a thin layer of Hard Gel using the same technique as the base coat. This is called a slip layer, which helps the gel to spread evenly over the entire nail area. Do not harden the slip layer.
6. Add a larger drop of Hard Gel to the nail and guide the gel towards the tip of the nail. If the gel starts to run down the edges of the nail, you can turn your hand upside down and let gravity pull the gel back to the center of the nail. You can also use a decorative applicator to help you apply. When you are satisfied, cure under a UV lamp for 2 minutes or under an LED lamp for 60 seconds.
7. If you want to shape the product, wipe the gel surface with cleanser, file the nail into shape and smooth the surface. The filing can be finished using a buffer or block file, after which clean the nail surface again.
8. If you wish, you can now add color and decorations to the nail. Then apply a layer of gel top coat using the same technique as the base coat. Cure under UV lamp for 2 min or LED lamp for 60 sec. No Wipe top coat does not need to be wiped off after curing.
8. Moisturize your skin with cuticle oil and you're done!
Notes:
- Avoid keeping products in front of a UV/LED lamp, as the products will harden and deteriorate. The sun's UV rays will also harden the products, so do not use the products in front of a window or outside, even on cloudy days.
- After the gel cures, the surface remains sticky so that the gel layers stick to each other. This means that the polish has cured properly despite the sticky surface. If impurities stick to the sticky surface, they can be removed using cleanser pads.
- If you have problems with the durability of your polishes or gels, you may need separate primers or a different type of base coat. For help with durability issues, you can contact us by email or by visiting our store.
