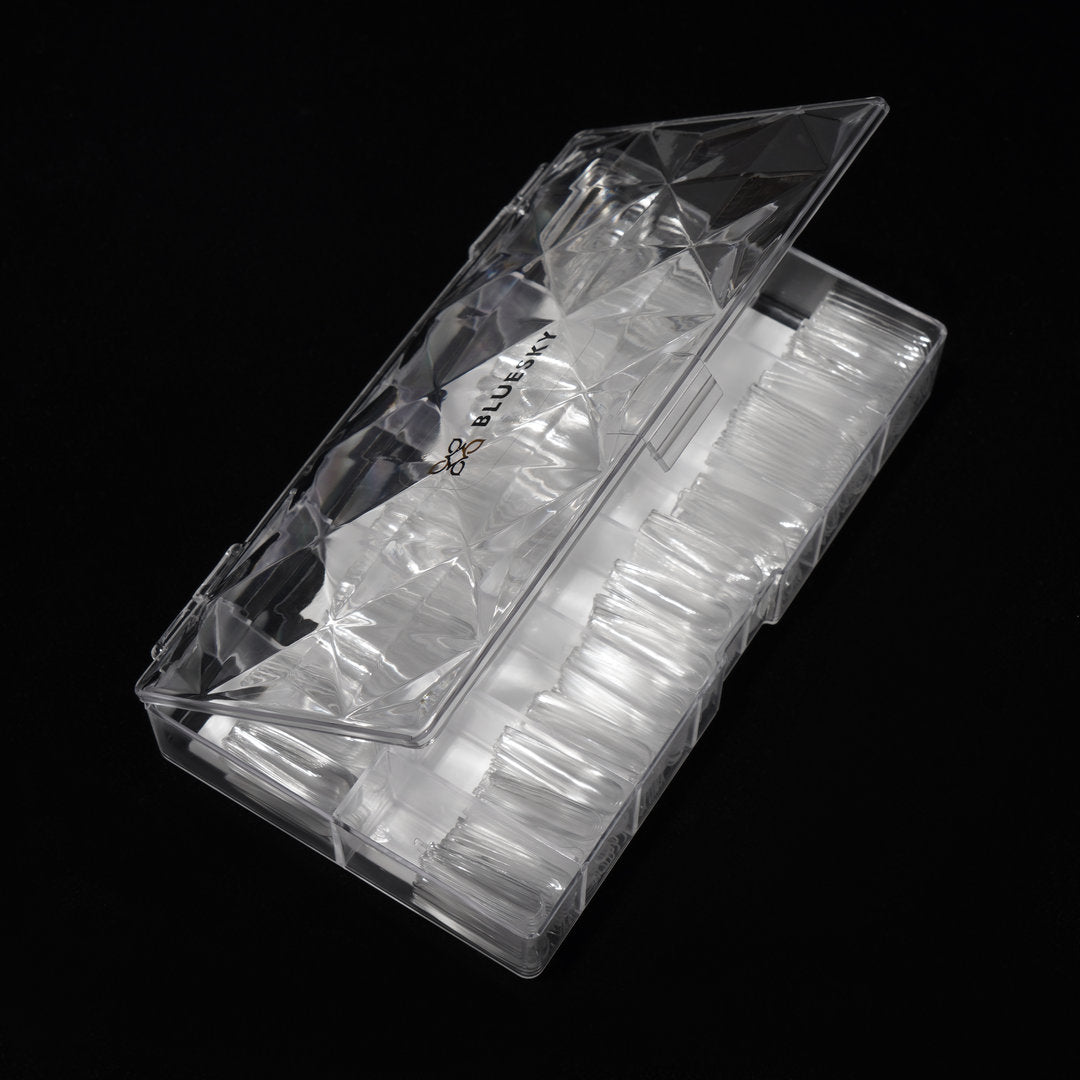
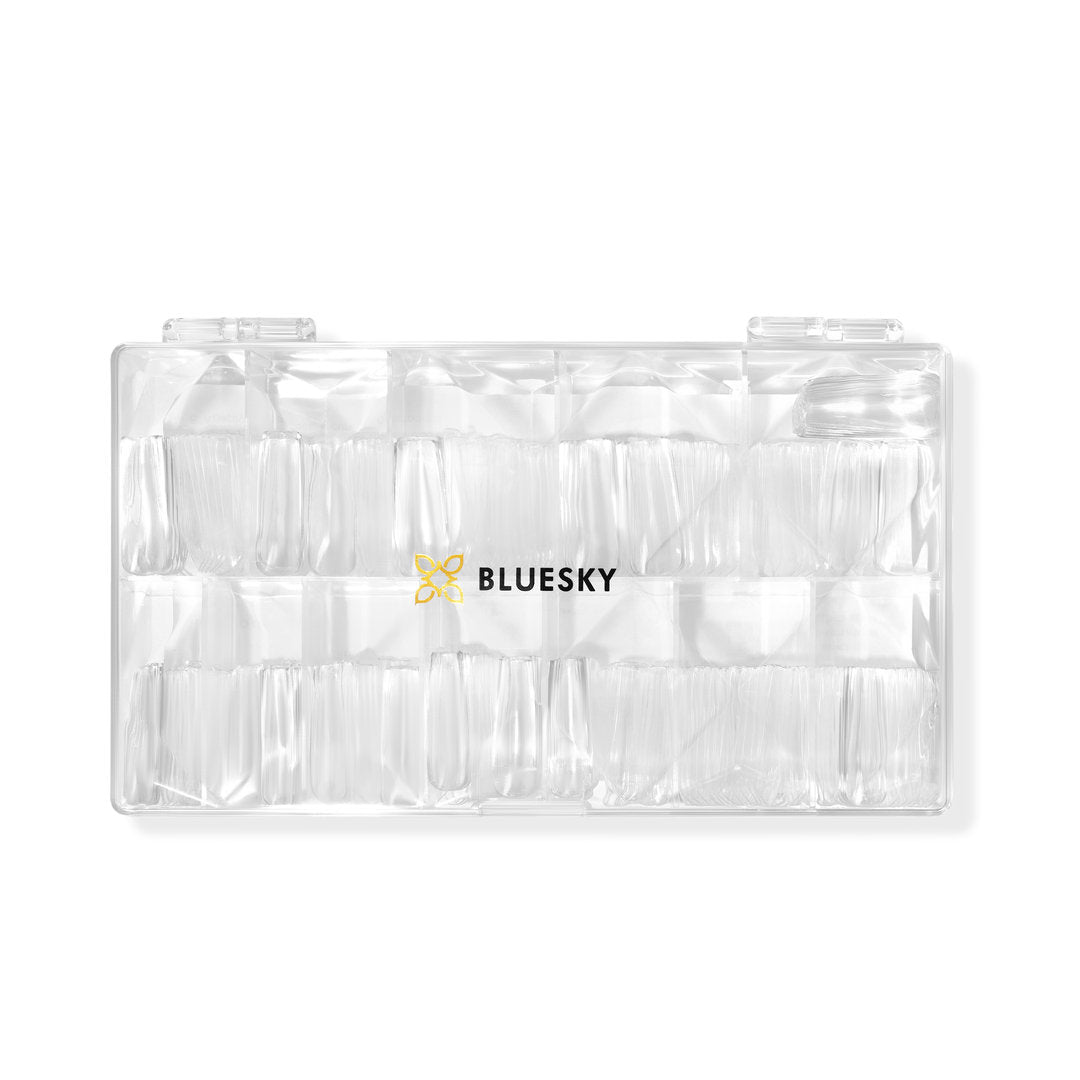
Bluesky Soft Gel XL Full Cover Tips, Square
- In stock
Regular price
€18,90
Regular price
€0,00
Sale price
€18,90
Tax included.
Product description
These tips are slightly wider and longer than the Stiletto and Coffin tips.
Pre-made full nail tips are an easy way to add extra length to your nails. The odorless and dust-free technique is perfect for those who want beautiful nails without the mess!
Lightweight yet sturdy Soft Gel extensions are easy to apply and remove.
Lasts up to 3 weeks!
Instructions
- Make sure you are not in direct sunlight. The products are UV-cured, so sunlight can cure the products in their bottles.
- Pre-measure the correct size tips. The tip should extend from one side of the nail to the other. If you are between two sizes, choose the larger size. Set the tips aside.
- Push back your cuticles with a cuticle pusher.
- Shape and, if necessary, shorten the tip of your natural nail with a shaping file.
- Buff the nail surface with a buffer file. Do not over-file, as this can thin the nail. The purpose is only to remove the shine from the natural nail. Pay special attention to the cuticle area and the sides of the nail.
- Clean the nail surface with Cleanser Wipes or Cleanser liquid and lint-free pads.
- Apply a thin layer of PH Bond to the nail. This dries the surface layers of the nail so that the gel adheres better. Allow the product to dry slightly before the next step.
- Apply a layer of your desired Bluesky gel base coat to the nail. We recommend, for example, a slightly thicker Rubber Base or a more building Fast & Easy Builder Gel to protect your own nail.
- Apply Strong Adhesive gel glue to the inside of the tip. Press the tip onto the nail, starting from the cuticle line. Make sure no air bubbles form under the tip.
- Hold the tip in place and cure for 15 seconds so that the tip adheres to the nail. Now you can release the tip and cure it properly with an LED lamp for 60 seconds.
- Repeat for each nail.
- Use a buffer file and buff the surface of the tip. Removing the shine provides a better adhesion surface for the gel polish.
- Clean the nail surface with Cleanser Wipes or Cleanser and lint-free pads. Now your nails are ready for decorations!
- After decorating, apply a layer of No Wipe Top Coat to the nails and cure with a UV lamp for 2 minutes or an LED lamp for 60 seconds.
- Finish your manicure by applying cuticle oil to the cuticles to restore moisture.
Notes:
- Avoid keeping products in front of a UV/LED lamp, as the products will cure and be ruined. Sun's UV rays also cure the products, so do not do polishings by a window or outdoors, even on a cloudy day.
- If the polish shows clear streaks, the product's pigment has separated from the polish and the bottle must then be thoroughly mixed.
- After curing gel polishes, the surface remains sticky so that the gel layers adhere to each other. The polish has therefore cured correctly despite the sticky surface. If impurities adhere to the sticky surface, they can be removed using cleanser wipes.
